
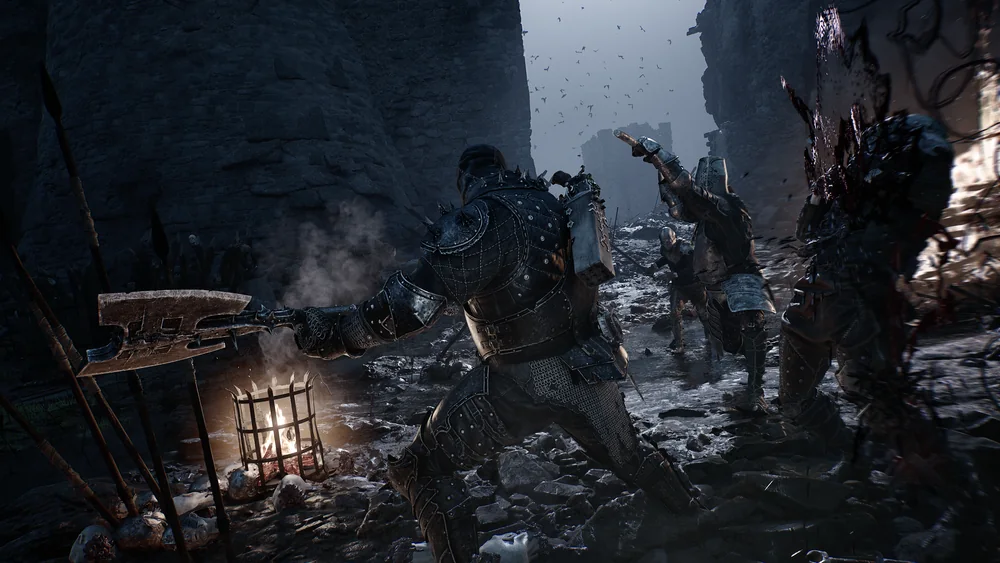


What a Shell changes
A Shell changes the character you possess, including its health, stamina, Resolve, movement profile, passive traits, and upgrade path. Weapons and sidearms remain a separate part of the build, which is why the same weapon can feel different after you change Shells. Start with the Shell whose survivability or pressure pattern matches the route you are learning.
Shell bonding uses Glimpse and opens Shell memories and Shell Point tiers. The useful choice is usually to develop one Shell far enough to make its central ability reliable, rather than buying a little progress on every new body. Spend the next Glimpse where it improves the fight currently blocking you.
The Seal is separate from the Shell. A Shell does not lock you into one defensive reaction, so you can keep a familiar parry, block, or Harden option while changing the body that supplies the health and ability package. This separation is why a build should be tested as Shell, Seal, weapon, sidearm, and Tarstones together.
Choose a Shell by combat job
Genessa is associated with abilities that create clones and can draw enemy attention after upgrades. That supports a damage-focused player who can invest in her progress and use the distraction to create melee or ranged openings. Her strength is not a promise of easy survival, so keep a defensive plan ready when the clones are unavailable.
Eredrim rewards a more durable, break-focused approach and is unlocked through the Warden route in Citadel of Penance. Proxima is suited to target control and lightning tools, while Smert is associated with high damage and lower survivability. Those differences make the right Shell depend on whether an encounter asks for endurance, spacing, burst damage, or control.
Gragu uses Revered Hearts and Blood Curse interactions, which can support healing and melee-focused pressure when their upgrades are in place. Sariel, Lazlo, and the remaining Shells offer different ability patterns rather than simple higher-number versions of the early options. Take a new Shell into ordinary enemies first, then decide if its resource loop fits a boss or dungeon.
Unlock Shells without losing the route
Shells are scattered through the world and several unlocks are tied to named routes or encounters. Eredrim follows the Warden in Citadel of Penance, Gragu requires the Heart of Vatra and a return to the One-Legged Wolf Tavern, and Smert requires two Offerings of Blood at Prophet's Rest. Treat each one as a route objective, not as a reason to abandon the Beacon network.
Proxima is acquired near the Shattered Beacon northeast of Blackridge Pass, while Tiel is tied to a grave near Martyr's Tomb southeast of Widow's Overlook. Sariel is linked to defeating Sariel, the Endless, in the Chamber of Becoming. The other Shell routes have their own gating conditions, so check the associated page before spending a long run on an incomplete clue.
A Shell can be unlocked before it becomes your main character. Claim it, return to Marrow Keep, examine its first abilities, and keep your familiar Shell equipped if the new moveset needs investment. This avoids putting an untested defensive option into a route that already requires clean timing.
Make a Shell decision that lasts a route
Do not rank Shells only by damage. A high-damage Shell can be ideal for a player who reads short openings, while a more durable body can do more actual work for someone still learning a boss sequence. The best test is whether you can survive long enough to use the ability at the moment it matters.
Match a Shell to the weapon recovery you can manage. A slow heavy weapon benefits from a body or ability that gives room to recover, while a fast close weapon can make better use of a Shell that rewards continuous pressure. The sidearm should cover whatever the main weapon and Shell combination cannot safely do.
Revisit the choice after a major pickup. A new Tarstone, sidearm, or weapon can change the value of the Shell abilities you already own. Refund or reallocate only after you know what the new setup is trying to accomplish, because a generalist spread of points is less useful than one clear route plan.
Build the Shell before judging it
A newly claimed Shell can feel weak when it has no memories or points unlocked. Read its first upgrades before deciding whether it replaces your current body, especially when its strength depends on a resource loop, a summon, or a particular combat window. The starting version is only the beginning of the build, not its final form.
Use a route with ordinary enemies to learn the Shell's basic rhythm. Watch how quickly it gains Resolve, how much room it needs after a heavy swing, and whether its ability helps you recover from a mistake or rewards constant pressure. Those practical questions matter more than a universal letter grade.
Keep the next upgrade goal narrow. A defensive Shell may need the memory that makes its survival tool dependable, while an aggressive Shell may need the ability upgrade that creates its safe opening. When you can name that goal, Glimpse spending and route choice both become simpler.

Related videos
Watch the route and combat use
The first guide starts muted in the lower-right corner on desktop. Choose another video to replace it; close the player at any time.