
Shells
Lazlo
The Justiciar · Shell
Lazlo is an armored heat-management Shell who converts Retribution, Overheat, and Burn into area control while his plate supplies steady damage reduction.
On this pageOverview
Field profile
Overview
| Health | 120 |
|---|---|
| Resolve | 100 |
| Bleed resistance | 9 |
| Frost resistance | 8 |
| Shock resistance | 8 |
| Curse resistance | 7 |
- Players who enjoy tanky area control
- Burn builds
- A forgiving first Shell for learning enemy patterns
Strengths
- Highest health among the permanent Shells
- Broad, reliable resistances and passive damage reduction
- Burn and shockwave tools handle groups well
Tradeoffs
- Overheat temporarily removes the armor safety net
- Heat and armor cooldown create a visible vulnerability cycle
- Repeated Retribution use can drain Resolve before the decisive shockwave
Core kit
Core abilities
Retribution
Lazlo heats his armor, unleashing a Shockwave . Repeated use causes Overheat , triggering a stronger shockwave that inflicts Burn stacks but temporarily disables his armor.
Fortified Plate
Lazlo has a base 10% damage reduction as long as his armor is on.
How to play
Lazlo combat guide
Build Heat on purpose, not by reflex. The ordinary shockwave controls nearby enemies while Overheat is the burst phase; once armor is disabled, disengage or finish the target instead of trading as if the plate were still active.
Combat loop
- 01Enter the pack with armor active and build Heat through controlled Retribution use.
- 02Use normal shockwaves to interrupt and group enemies.
- 03Trigger Overheat when Burn or the larger shockwave will finish the exchange.
- 04Disengage during armor cooldown, then re-enter once Fortified Plate is restored.
Ability priorities
Bond path
Progression plan
Worthy Armor and Warmed Up make the Heat loop affordable and immediately rewarding.
Temperament and Incandescence improve shockwave output and reach; Adaptation shortens the vulnerable armor cooldown.
Inflamed turns Overheat into the main payoff, while Furnace and Rekindle keep the risk manageable after armor drops.
Build craft
Weapon and Tarstone synergies
Weapons & sidearms
Tarstones
Field notes
- Watch the armor state, not only the Heat meter.
- Do not trigger Overheat at the start of a long boss string unless a safe exit is available.
- Use the larger shockwave to end a phase or clear space rather than merely adding chip damage.
Interactive progression
Skill tree
Open a Bond Tier branch to inspect its skills, Shell Point costs, and every upgrade level. Tier lines show unlock order; skills inside the same tier remain independent purchases.
Bond Tier 13 skills · unlock this tier before purchasing its nodes 01Inner Fire3 levels · 1 / 2 / 3 Shell Points
Bond Tier 1Level costs: 1 / 2 / 3Open full skill entry ↗- Level 1Lazlo has 50% Burn mitigation
- Level 2Lazlo has Burn damage immunity
- Level 3Lazlo receive 5 Warp stacks when affected by Burn
02Warmed Up3 levels · 1 / 2 / 3 Shell Points
Bond Tier 1Level costs: 1 / 2 / 3Open full skill entry ↗- Level 1Lazlo deals up to 30% more damage
- Level 2Lazlo gains up to 35% more Resolve from melee attacks
- Level 3Lazlo's armor provides up to 10% more damage reduction
03Worthy Armor3 levels · 1 / 2 / 3 Shell Points
Bond Tier 1Level costs: 1 / 2 / 3Open full skill entry ↗- Level 1Retribution costs 20% less Resolve
- Level 2Retribution costs 30% less Resolve
- Level 3Retribution costs 40% less Resolve
Bond Tier 23 skills · unlock this tier before purchasing its nodes 01Adaptation3 levels · 1 / 2 / 3 Shell Points
Bond Tier 2Level costs: 1 / 2 / 3Open full skill entry ↗- Level 1Armor cooldown reduced by 2s
- Level 2Armor cooldown reduced by 3s
- Level 3Armor cooldown reduced by 4s
02Incandescence3 levels · 1 / 2 / 3 Shell Points
Bond Tier 2Level costs: 1 / 2 / 3Open full skill entry ↗- Level 1Lazlo's Heat Meter fills by 20%
- Level 2Lazlo's Heat Meter fills by 35%
- Level 3Lazlo's Heat Meter fills by 50%
03Temperament4 levels · 1 / 2 / 3 / 4 Shell Points
Bond Tier 2Level costs: 1 / 2 / 3 / 4Open full skill entry ↗- Level 1Unleashed shockwaves deal 130% damage
- Level 2Unleashed shockwaves deal 160% damage
- Level 3Unleashed shockwaves cover a much larger radius
- Level 4Overheated shockwaves ignite the ground for 5s
Bond Tier 33 skills · unlock this tier before purchasing its nodes 01Breaker3 levels · 1 / 2 / 3 Shell Points
Bond Tier 3Level costs: 1 / 2 / 3Open full skill entry ↗- Level 1Unleashed shockwaves deal 15 Break Damage
- Level 2Unleashed shockwaves deal 20 Break Damage
- Level 3Overheated shockwaves have 15% chance to instantly Break enemies
02Detonation3 levels · 1 / 2 / 3 Shell Points
Bond Tier 3Level costs: 1 / 2 / 3Open full skill entry ↗- Level 1Lazlo's Armor unleashes one last shockwave that deals 120 damage
- Level 2The shockwave ignites the ground for 12s
- Level 3The shockwave covers +50% the radius
03Furnace3 levels · 1 / 2 / 3 Shell Points
Bond Tier 3Level costs: 1 / 2 / 3Open full skill entry ↗- Level 1Enemies suffer from 2 Burn stacks when striking Lazlo
- Level 2Damage reduction increases by +10%
- Level 3Lazlo has 50% chance to surive a fatal blow
Bond Tier 43 skills · unlock this tier before purchasing its nodes 01Inflamed4 levels · 1 / 2 / 3 / 4 Shell Points
Bond Tier 4Level costs: 1 / 2 / 3 / 4Open full skill entry ↗- Level 1Heat Meter no longer drains over time
- Level 2Overheated shockwaves no longer consume Resolve and inflict 10 Burn stacks
- Level 3Overheated shockwaves have 30% chance to not deactivate Lazlo's Armor
- Level 4Overheated shockwaves cure all negative conditions on Lazlo
02Rekindle3 levels · 1 / 2 / 3 Shell Points
Bond Tier 4Level costs: 1 / 2 / 3Open full skill entry ↗- Level 1Restores 1 Health every 1s as it drains
- Level 2Restores 1 Resolve every 1s as it drains
- Level 3Restores 15 Health and Resolve when fully empties
03Rush4 levels · 1 / 2 / 3 / 4 Shell Points
Bond Tier 4Level costs: 1 / 2 / 3 / 4Open full skill entry ↗- Level 1Lazlo gains 10 Warp stacks
- Level 2Lazlo gains 20 Warp stacks
- Level 3Lazlo has +15% Critical Hit chance
- Level 4Lazlo has +20% Critical Hit chance
Video guide
Build video
Mortal Shell 2 Lazlo Build Guide - How to Play Lazlo
Burn build, abilities, skill priorities, weapons, Tarstones, and final tips
- Channel
- Fextralife ↗
- Published
- 2026-08-19
- Length
- 11m 48s
Memories
| The Justiciar | Cost 500 · Reward 500 |
|---|---|
| The Prisoner | Cost 500 · Reward 500 |
| The Prisoner 2 | Cost 500 · Reward 750 |
| The Trial | Cost 500 · Reward 1000 |
| The Truth | Cost 500 · Reward 500 |
| The Visit | Cost 500 · Reward 1000 |
Exact location
Fallgrim · 27.8156, 62.2502
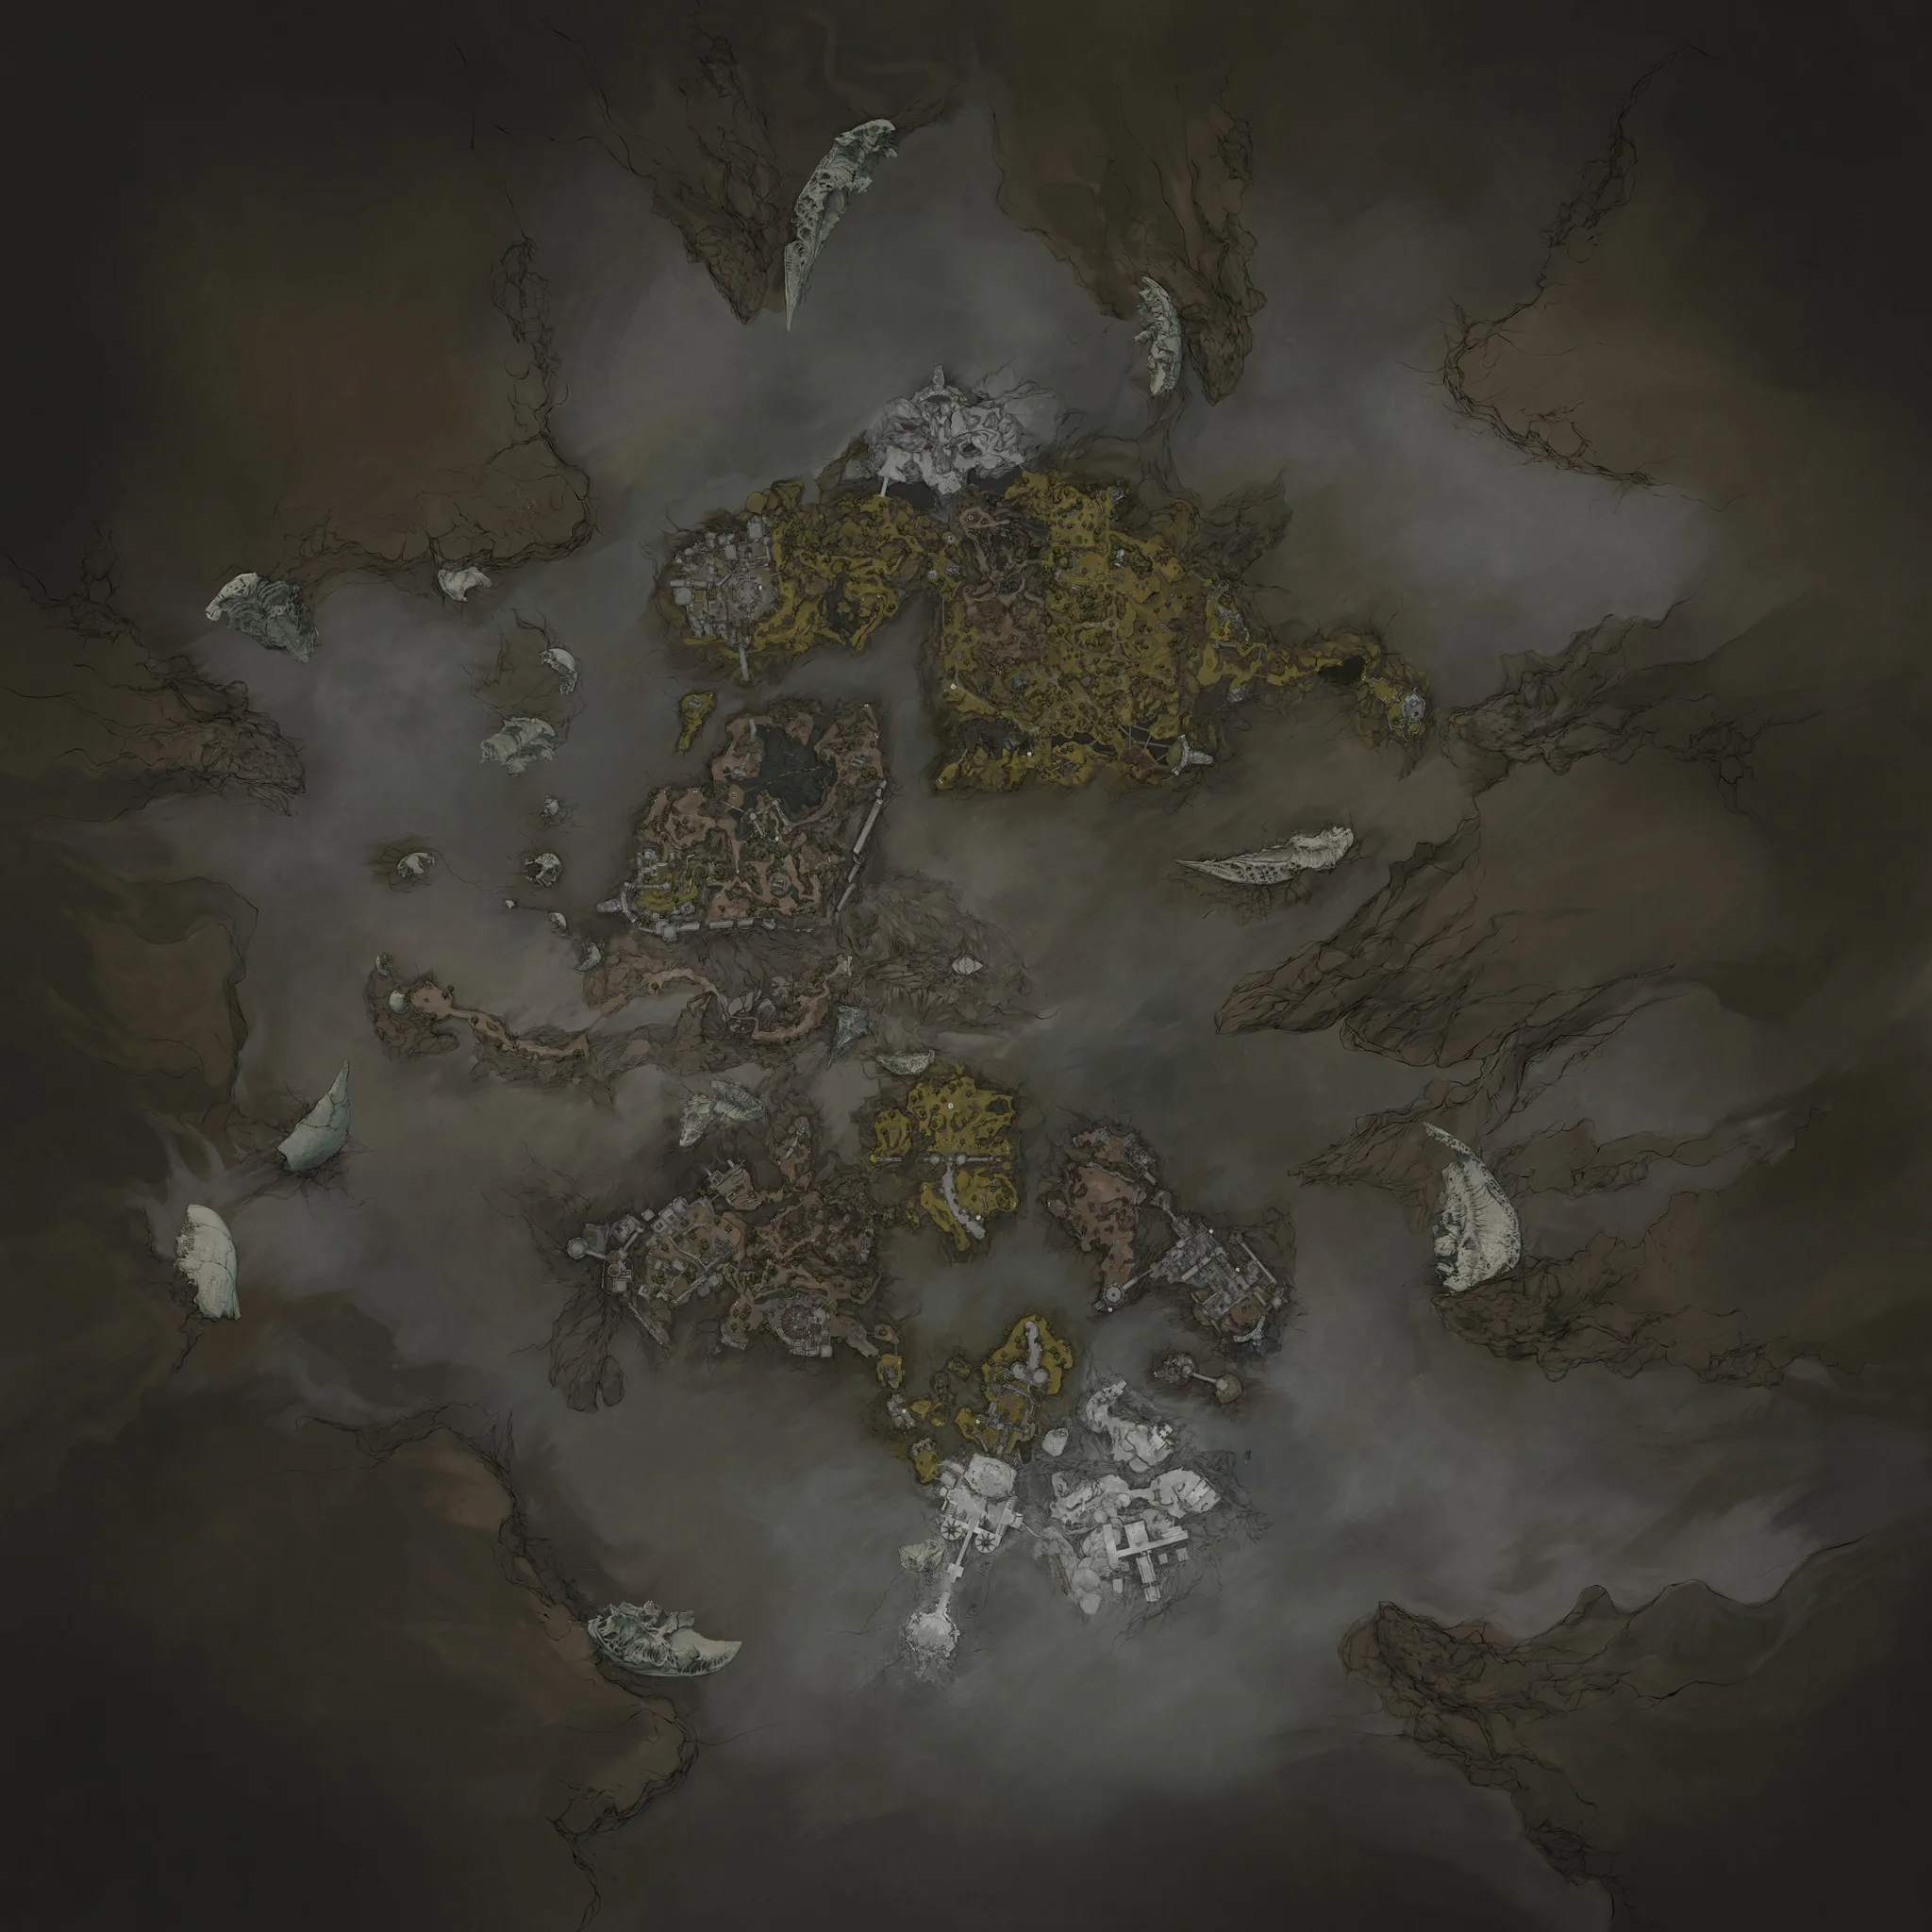 Lazlo
Map marker for Lazlo
Appearance variants
Shades
Shades change how Lazlo looks, not the Shell's stats or abilities. Switch between unlocked Shades from the Change Shades menu at any Beacon.
- 01Obsidian LazloObsidian appearanceCosmetic only
- 02Second SonNamed alternate appearanceCosmetic only
Gallery