
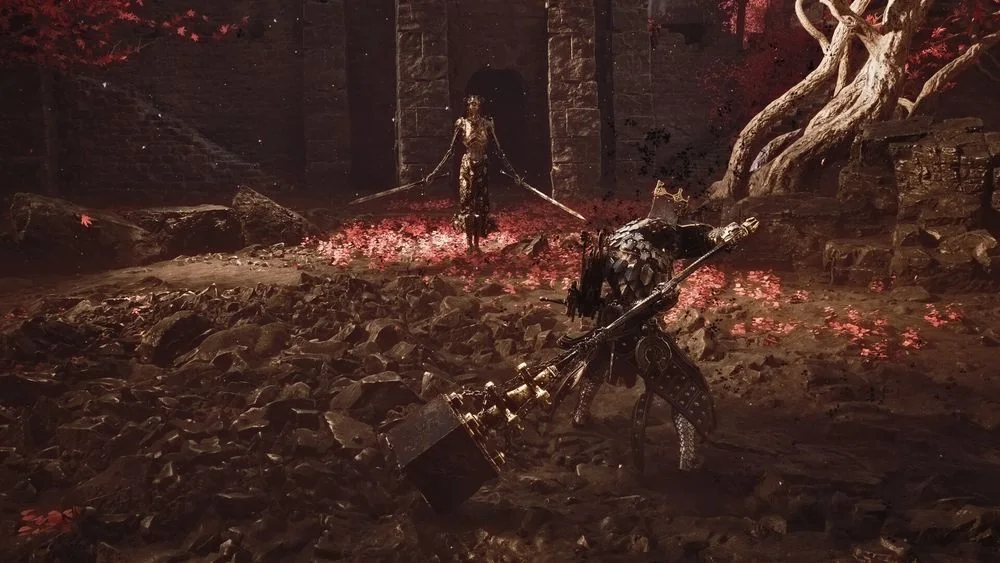
Early Fainweald Shell routes
Tiel is found at a grave near Martyr's Tomb, southeast of Widow's Overlook. Widow's Overlook is an early Fainweald anchor north of Marrow Keep, so this is a practical early detour once you have a Beacon reset behind you. Claim the Shell, then return to the hub before treating it as a replacement for the Shell you already understand.
Proxima is located near the Shattered Beacon northeast of Blackridge Pass, close to the Crumbling Tunnel route. Blackridge Pass is part of the broader Fainweald connection network, so opening the nearby Beacon and shortcut matters as much as reaching the Shell itself. A safe return lets you compare Proxima's target-control and lightning tools without carrying route pressure into the test.
Eredrim is beyond the Warden encounter in Citadel of Penance. From the Citadel Beacon, enter the courtyard, drop into the pit, find the lever-controlled lift in the circular lower level, and continue forward to the arena. The Warden is optional, so this route is best saved until the Shell reward and the boss practice are both worth the preparation.
Shells tied to task completion
Gragu is unlocked by finding the Heart of Vatra in the Temple of Vatra and returning it to Gragu at the One-Legged Wolf Tavern. The route is a fetch objective with a return step, so do not leave the Temple assuming the Shell is awarded immediately. Plan the Tavern return around the next Beacon and any other objective on that side of the world.
Smert is obtained at Prophet's Rest west of the Outskirts of Nochte after making two Offerings of Blood at the sacrifice bowls. The important part is the two-offering requirement, not simply arriving at the named place. Bring the required progress to the site and use a safe route back once the Shell has been claimed.
Sester Genessa is unlocked through the Touch Censer dungeon west of the Abbey Entrance, then by bringing Sester's Censer to Genessa in Marrow Keep. This is another route where the dungeon completion and hub hand-in are both necessary. Leave enough healing for the exit, because the reward is not complete until the censer reaches the hub.
Boss and late-route Shells
Sariel is tied to defeating Sariel, the Endless, in the Chamber of Becoming southeast of Silent Steps. Treat this as a boss route rather than a loose collectible. Prepare a weapon and sidearm that fit short attack windows, then return to the Shell menu once the unlock is confirmed.
Lazlo is found in the Crypts of Mammon west of the High Lord's Courtyard in the Ruins of Mammon. The named area narrows the search, but a complete room-by-room path is not established here. Use the regional route and Beacon state in game rather than following invented turns or coordinates.
The location list is useful for deciding where to travel, but it does not mean every Shell should be unlocked on first arrival. A difficult dungeon or boss can be revisited after a different Beacon, weapon, or Tarstone is available. The Shell will still be a better reward when you can return to Marrow Keep and actually build around it.
Prepare before following a Shell clue
Start every Shell search by setting the nearest Beacon. That gives you a stable return point if the route includes a dungeon, a boss, or a one-way drop. It also separates the act of reaching the Shell from the later decision to spend Glimpse on it.
Read the clue for its type. Tiel and Proxima are location pickups, Eredrim and Sariel depend on boss completion, and Gragu, Smert, and Genessa require a task plus a hand-in or offering. Using the wrong expectation is how a player reaches the correct place but misses the final interaction.
After an unlock, inspect the Shell at Marrow Keep and use it against ordinary enemies before making it the center of a boss plan. A new Shell changes health, Resolve, ability timing, and the way a weapon recovery feels. A short test route is enough to show whether its job fits the next serious encounter.
Keep location notes honest
Use named regions, Beacons, dungeons, bosses, and objective steps to narrow each Shell search. Exact map coordinates and room-by-room directions are not established for every route. Use the in-game map and active Beacon state to close the final gap without relying on invented turns.
A clue can be complete even when it is not a straight line. Gragu, Smert, and Genessa each require a return interaction after the named task, while Eredrim and Sariel require a boss result before the Shell is available. Check for the final hand-in, offering, or claim action before turning around.
If a route has become a repeated failure, leave its location marked and return after a different upgrade. A new sidearm can make the approach safer, a Tarstone can make the boss opening more useful, and another Shell can change the defensive plan. The location remains valid even when your loadout is not ready for it.

Related videos
Watch the route and combat use
The first guide starts muted in the lower-right corner on desktop. Choose another video to replace it; close the player at any time.