
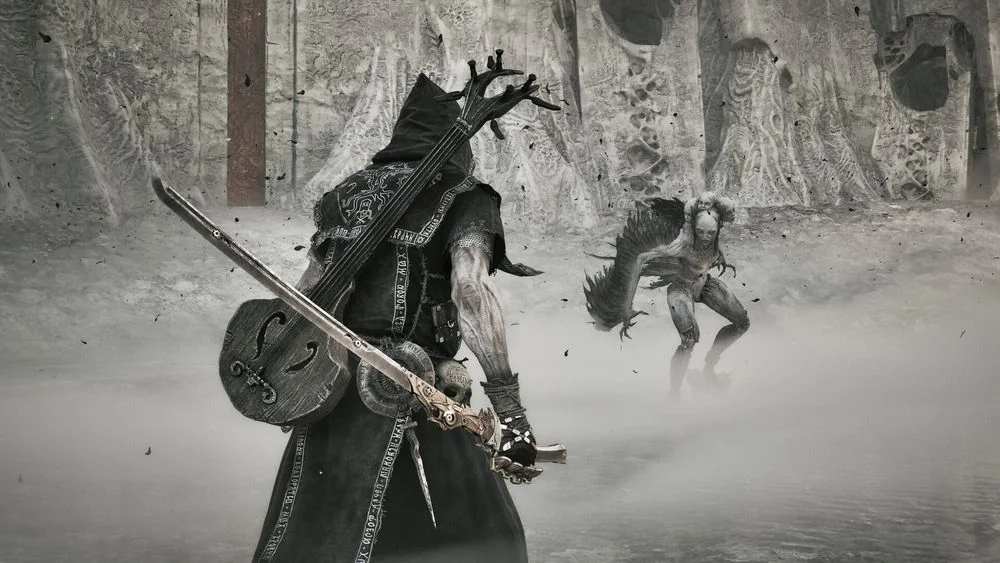
How this eight-Shell ranking is read
The list weighs boss safety, crowd control, damage access, and the bonding investment needed to reach a Shell's core tools. A high rank means the strengths are useful often and the trade-offs are manageable, not that the Shell wins every matchup. Weapon choice, Seal choice, Tarstones, and Resolve habits can move a Shell up or down for one save. Use the rank to decide which kit to test, not to skip learning the encounter.
Use the placement as a starting point for choosing what to test next. Compare the job named in each entry with the problem you actually have, such as surviving a boss, controlling a crowd, or keeping pressure while moving. A fully bonded lower-tier Shell can be more useful than an unbonded higher-tier Shell. The useful comparison is between complete builds at the point of the game you have reached.
This is an editorial snapshot of the eight playable Shells, not an official rating. Balance changes can alter damage, control, or survivability, and personal execution matters most on low-health or riposte-dependent kits. Recheck the individual ability details when a patch changes the tools you rely on. Treat a new ability, weapon, or balance change as a reason to retest the matchup.
Tier position does not replace route information or an unlock checklist. A Shell must be found, bonded, and equipped before its listed strengths are available in your save. Check its ability tree before investing Shell Points, then compare the relevant active tool with your current weapon and Seal. This keeps the ranking tied to a playable setup instead of an abstract label.
Boss safety favors durable pressure, reliable control, and tools that leave room to recover after a mistake. Crowd control favors ways to create space or keep several enemies manageable while you reposition. Damage access considers whether the kit creates a repeatable opening instead of relying on an ideal one-time setup. Bonding investment matters because a late ability can change a Shell's practical role more than its base form suggests.
S tier: Genessa S tier: Tiel
Genessa creates ranged pressure with Faithful Doubles, which create space, draw attention, and build Phantom pressure against groups and bosses. Her strength comes from controlling attention while continuing to attack, so she rewards players who manage both the doubles and their own position. The rank values that control because it can make crowded rooms and long boss exchanges easier to manage. She is strongest after the relevant upgrades are in place, not as an automatic early-game answer.
Tiel uses Shadow tools to reward clean dodges and reposition for high-damage attacks. His low health makes missed timing costly, so the tier reflects evasive burst potential rather than raw safety. The high placement assumes you can reliably read an enemy pattern instead of trading through pressure. Pick Tiel when movement creates the next opening and you are comfortable converting that opening into damage.
S tier: Smert A tier: Eredrim
Smert's Miracle can lock down an encounter and create long damage windows when Resolve is ready. The loop trades health for time control, which makes it powerful but deliberately risky. The rank rewards the amount of control available once Resolve is prepared before a difficult exchange. He fits players who can plan recovery and avoid treating every low-health window as a chance to attack.
Eredrim combines high health, Break damage, and Slaughter stacks for a strong riposte-focused boss build. He gains value when you can land ripostes and keep an enemy vulnerable rather than simply trading hits. The placement reflects reliable durability and punishment, while the lack of Tiel-style repositioning keeps the role more deliberate. Use him when front-facing pressure and a stable boss plan matter more than mobility.
A tier: Sariel A tier: Proxima
Sariel's later bonding upgrades add area damage and sustain through curse and thorn effects. The kit needs substantial bonding before those tools come together, which is why its rank includes an investment warning. His placement assumes the later parts of the tree are available, not just the base Shell. He is a better long-term project than an immediate answer for a newly found Shell.
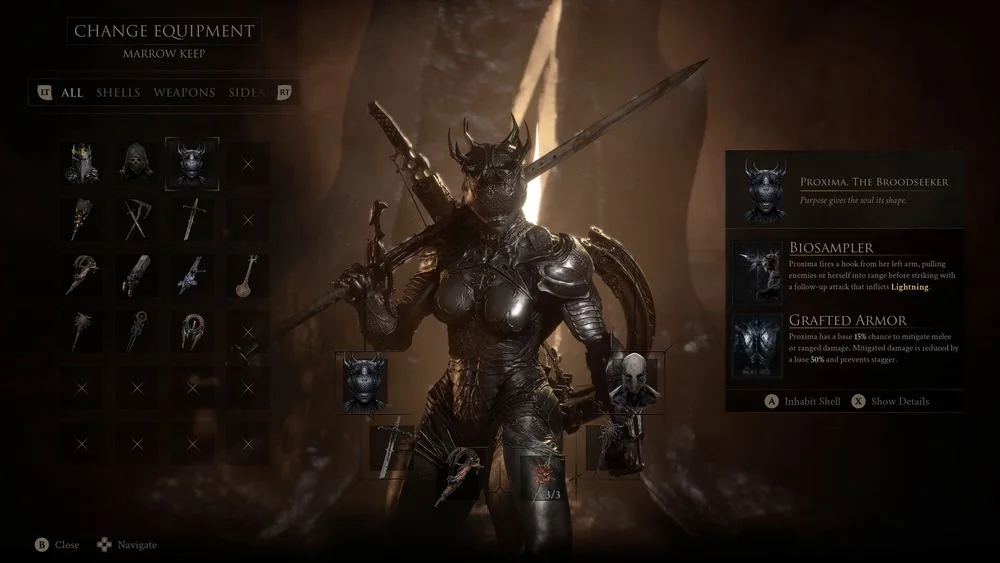
Proxima uses Bio Sampler for mobility, crowd control, and reliable Shock setup in normal encounters. Her value comes from shaping a target before committing to melee, not from a fixed damage number. The placement rewards control that remains useful while moving between enemies, Beacons, and tighter routes. Choose her when movement and control solve the room better than extra health does.
B tier: Gragu C tier: Lazlo
Gragu can build a deep healing reserve while clearing areas and can create stagger opportunities. That resource loop is less reliable in isolated boss fights, where there are fewer safe chances to rebuild it. The middle placement separates useful route sustain from the more repeatable boss control offered by the higher tiers. He is a practical exploration Shell when sustain matters more than burst damage.
Lazlo is a durable armored brawler with useful crowd-fight tools. His split armor states make the upgrades harder to use at full value in every fight, which lowers his rank in this assessment. The lower placement is about consistency, not a claim that he cannot clear a route or win a boss fight. He remains a valid choice when the armor state and the encounter line up with the build.
Related videos
Watch the route and combat use
The first guide starts muted in the lower-right corner on desktop. Choose another video to replace it; close the player at any time.