
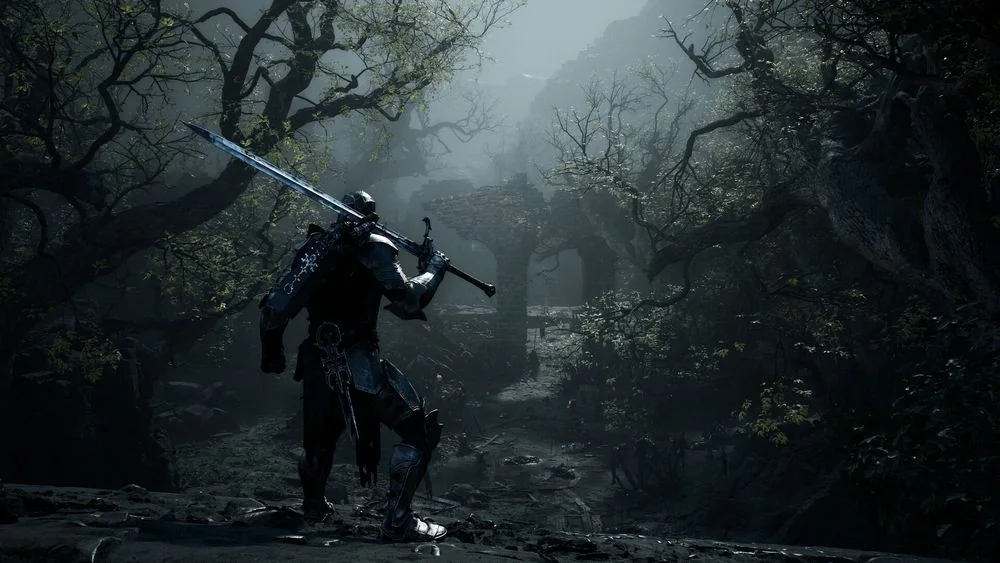
Why it fits the Soulslike label
Mortal Shell II asks you to study attacks, manage space, and accept that a failed route can be part of learning it. Bosses and ordinary enemies can punish an overlong attack string, while parries and posture breaks create decisive openings. That risk and recovery loop is the clearest reason players place it in the Soulslike genre.
Exploration carries the same kind of uncertainty as combat. The world has routes, hidden spaces, weapons, Shells, and dungeons that are not all handed to the player through a constant stream of markers. You can leave a difficult direction, explore another path, and return with different equipment or more knowledge of the area.
Progress is not only a question of character level. Weapons, sidearms, Shell abilities, Tarstones, Seals, and Resolve all affect what you can do in a fight. That gives a stuck player several ways to change an approach without claiming that every weapon or Shell has one universal answer.
Shells change the usual class choice
Shells are the central difference between this game and a more fixed character class system. Each one has its own health profile, abilities, and upgrade path, so swapping Shells changes the way you can approach the same opponent. A player can choose a tougher option for learning a route or a more specialized option when they understand the openings.
That system works best when you treat a Shell as part of a full combat plan. Pair it with a main weapon whose recovery you can control, a sidearm for the kind of range or crowd pressure you lack, and Tarstones that reinforce the result. Changing every part at once makes it hard to tell which choice helped.
The game also lets a player adapt without pretending that a new Shell removes the need for timing. A different health profile or ability can create more room to recover, but enemies still require spacing and a clear response to their attacks. This keeps the class-like choice connected to the genre's usual emphasis on execution.
Resolve and stamina-free movement
Mortal Shell II does not use a conventional stamina meter for movement. That changes the pace of retreating and repositioning, but it does not make aggression free. You still need to watch recovery, enemy tracking, incoming groups, and the moment when an attack will leave you exposed.
Resolve is used for special attacks, sidearms, and Shell abilities. It is therefore an offensive resource rather than a simple replacement for stamina. Spending it at the wrong moment can leave you without the tool that would have safely ended a later opening.
This creates a different kind of restraint. Instead of asking only whether you have enough stamina to attack, the game asks whether the current target, position, and Resolve reserve make the action worth taking. A successful fight still depends on patience, but the pressure comes from a different part of the combat loop.
Tarstones, Seals, and sidearms
Tarstones change equipment and actions with effects such as Burn, Poison, Frost, Phantom, and utility effects. A stone can turn a familiar weapon into a better answer for a particular route, but it does not erase that weapon's commitment or reach. Build choices are most useful when they support the moveset you already use reliably.
Seals change defensive or parry behavior and can also change the difficulty experience. The Slayer Seal is the clearest example because it offers a more forgiving loop at the cost of achievements on that save. This makes a Seal choice more than a small stat adjustment, especially for a player who is deciding whether a character is for practice or completion.
Sidearms cover problems that a main weapon may not solve well. A ranged tool can pressure a target during a short opening, while crowd control can change how a packed room is handled. The result is a Soulslike whose build decisions extend beyond choosing a sword and improving its damage.
What to expect before starting
Start this game expecting to fail while you learn routes, attack timing, and the relationship between your Shell and equipment. The pressure comes from real combat commitments rather than a stamina bar, so movement freedom does not remove the need to stop attacking at the right moment. Players who enjoy deliberate adaptation will find several systems to work with before they need to grind or abandon an area, including Beacon resets, weapon detours, Shell swaps, and a return after studying the encounter with full healing.
Do not expect a fixed character class, a single best weapon, or a universal answer to every boss. Shells and equipment give the game a flexible build layer, but you still need to protect recovery and recognize openings. A successful setup is one you can use consistently in the particular route you are exploring.
The Soulslike label is useful for setting expectations about challenge, bosses, exploration, and the value of learning through failure. It is less useful when it is used as a promise about difficulty, enemy variety, balance, or campaign length. Read it as a description of the combat and exploration structure, then use the Shell, sidearm, and route choices to decide whether that structure works for you through the first difficult areas while learning enemy behavior and local routes.
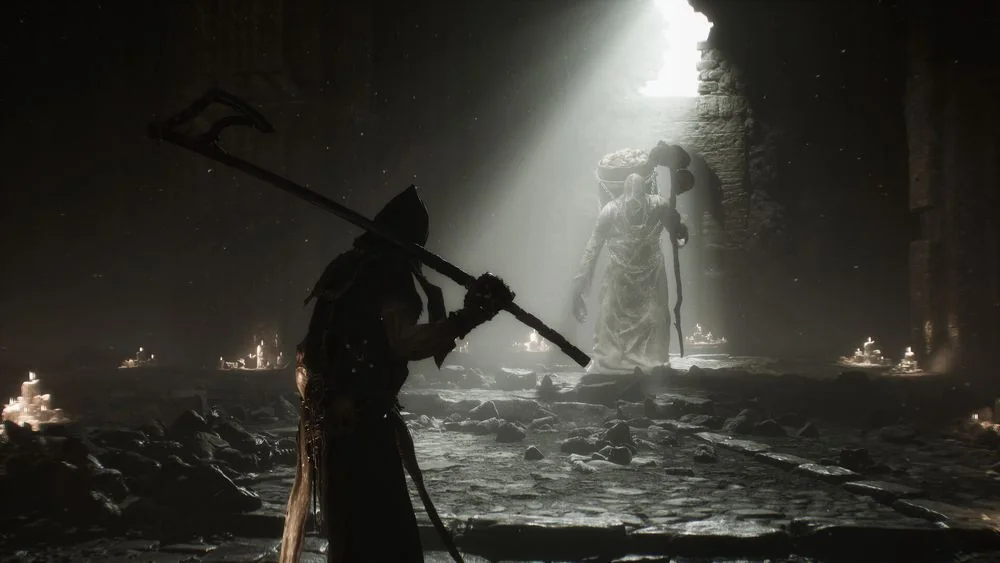
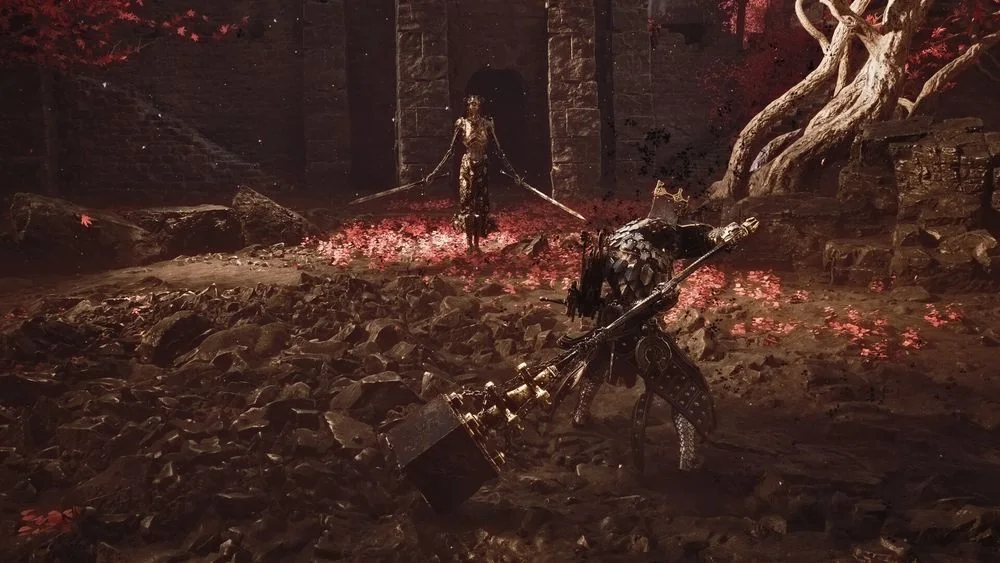
Related videos
Watch the route and combat use
The first guide starts muted in the lower-right corner on desktop. Choose another video to replace it; close the player at any time.