

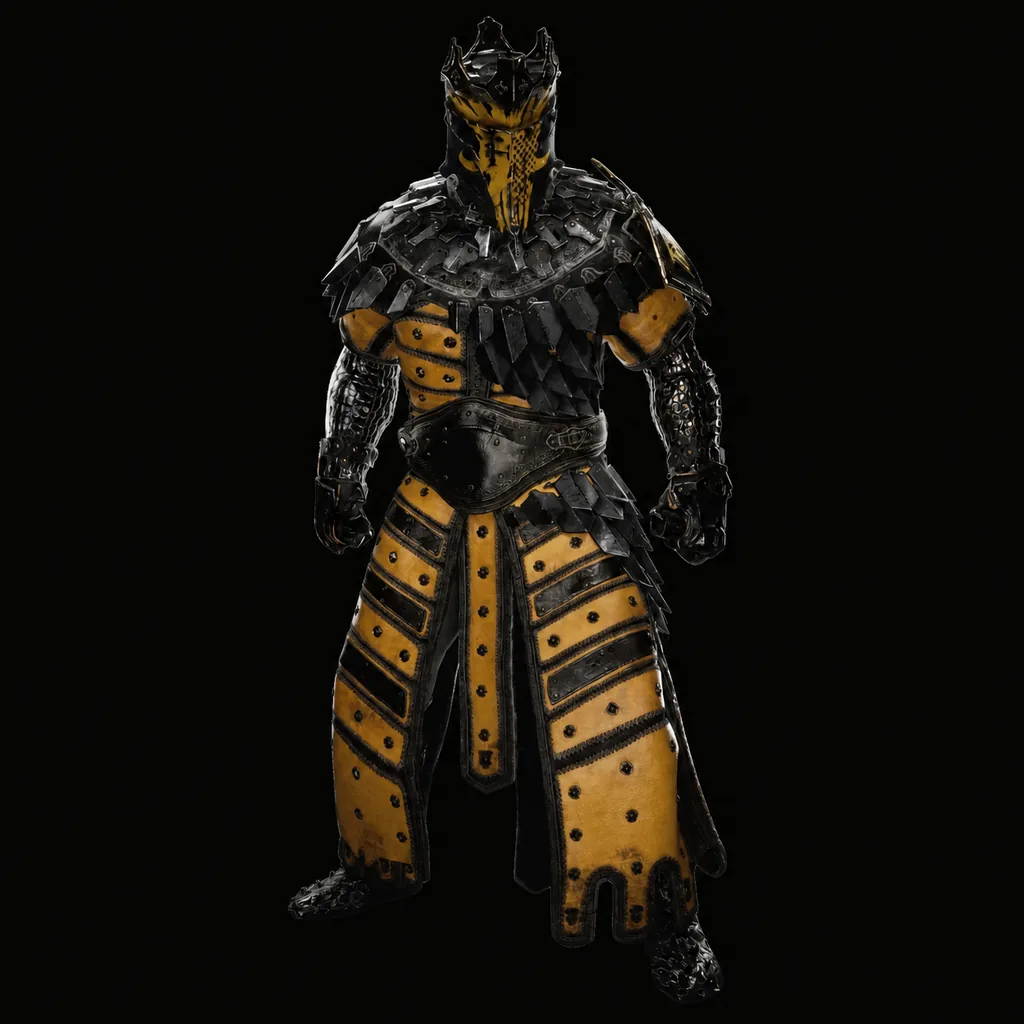
Reach the Citadel of Penance unlock
Start at the Citadel of Penance Beacon, move through the courtyard, drop through the pit, and follow the lower circular passage. A lift leads toward the central arena where the Warden blocks the Shell route. Keep the Beacon active so a failed boss attempt does not turn the unlock into a long recovery run.
The Warden must be defeated before Eredrim can be claimed. Do not mistake the route to the lower passage for the finished unlock, because the boss clear is the gate that matters. Bring a weapon you already understand and preserve healing for the arena instead of testing an unfamiliar pickup on the same trip.
After the fight, claim Eredrim and check his abilities at Marrow Keep before spending Glimpse. His role is clear enough to plan around, but the exact values and costs belong to the current ability tree on your save. This prevents an old number or an incomplete build note from becoming the reason you choose the wrong upgrade.
Play around Break and Ripostes
Eredrim is suited to frontal combat that creates a stagger or Riposte window. His kit emphasizes Break pressure, so a successful parry, a committed attack string, or effective sidearm use can turn an enemy's posture into a safer opening. The purpose is not simply to hit harder, but to make the next close-range exchange easier to control.
Executioner improves the reward for Ripostes by granting Slaughterer stacks. Killing with a Riposte can grant a larger stack reward, while Tank turns those stacks into damage reduction. This makes clean defensive timing part of Eredrim's durability rather than something separate from his damage plan.
Use the loop against targets whose attacks you can read. Wait for an opening, build pressure, take the Riposte when it is available, then decide whether to continue the melee string or reset. Chasing every hit after a successful stagger is less reliable than using the opening to establish the next safe position.
Build Shoulder Bash deliberately
Shoulder Bash is Eredrim's direct commitment tool. Anguish improves its damage, Weak application, and Stagger Damage, while Oppression adds more Break damage and can release a frontal shockwave at a higher Resolve cost. The move is strongest when you have already created space for it instead of throwing it into an enemy's active string.
A player who wants to focus on Shoulder Bash should watch Resolve before beginning a long exchange. The skill becomes less useful if it empties the resource needed for a safer response after the target recovers. Consecration can restore Resolve through Mether's Pulse, which gives the healing action a second job in that kind of build.
Choose the Shoulder Bash upgrades if you can recognize a clear forward lane and a committed enemy animation. In crowded rooms, a wide weapon swing, a sidearm, or a reset may be safer than forcing a frontal charge. The ability is a tool for controlled pressure, not an instruction to remain in range at all times.
Match the Shell to the encounter
Eredrim fits a player who prefers a sturdy close-range response to a fragile burst plan. Frost mitigation and immunity are part of the Apathy path, while Seal Affinity improves the parry window and Riposte damage. These choices make sense when the encounter rewards repeated defensive reads rather than one long damage phase.
A heavy main weapon can reinforce Eredrim's deliberate rhythm, but it is not mandatory. The Shell's Break and Riposte tools work with any weapon that leaves you enough time to recover after a commitment. Use the weapon whose spacing you can repeat cleanly instead of equipping a slow option only because it looks appropriate for a durable Shell.
Keep track of Slaughterer stacks when resting or being severed. Persistence reduces the amount removed in those situations, which makes it relevant to a route with repeated resets. If stack maintenance is distracting you from enemy timing, simplify the build and let the defensive loop become automatic before adding another conditional effect.
Keep the Eredrim loop simple
Begin with the action you can execute consistently. For many players that is a parry followed by a Riposte. Add Shoulder Bash only after the timing is familiar.
Use Slaughterer stacks as a reward for clean play, not a reason to overextend. Their defensive value supports the next exchange. It does not make an unreadable attack safe to absorb.
Spend Resolve with a purpose. Shoulder Bash and healing-related effects compete for the same resource. Leave enough for the response your current fight is likely to require.
Eredrim becomes clearer when each part has a job. Break creates the opening, Riposte builds the stack, and the defensive tools support another close exchange. A loadout that follows that order is easier to adjust when a boss exposes a weakness.
Practice against readable enemies
Use an enemy with a clear attack rhythm to learn Eredrim. Practice the parry and the Riposte before asking Shoulder Bash to solve the same encounter. Each action has more value when it follows a confirmed opening.
A failed parry does not require an immediate attack back. Reset the distance, watch the next cue, and rebuild the posture plan. Eredrim's durability supports patience more than frantic retaliation.
Bring a sidearm only when it handles a concrete problem. A distant target or a dangerous recovery window are good reasons. It should not replace the Break and Riposte loop that defines the Shell.
Once the rhythm is reliable, add the upgrade that supports it. The current ability tree shows which branch improves the part of the loop you use most. That is a stronger reason to spend Glimpse than an abstract stat preference.


Related videos
Watch the route and combat use
The first guide starts muted in the lower-right corner on desktop. Choose another video to replace it; close the player at any time.