
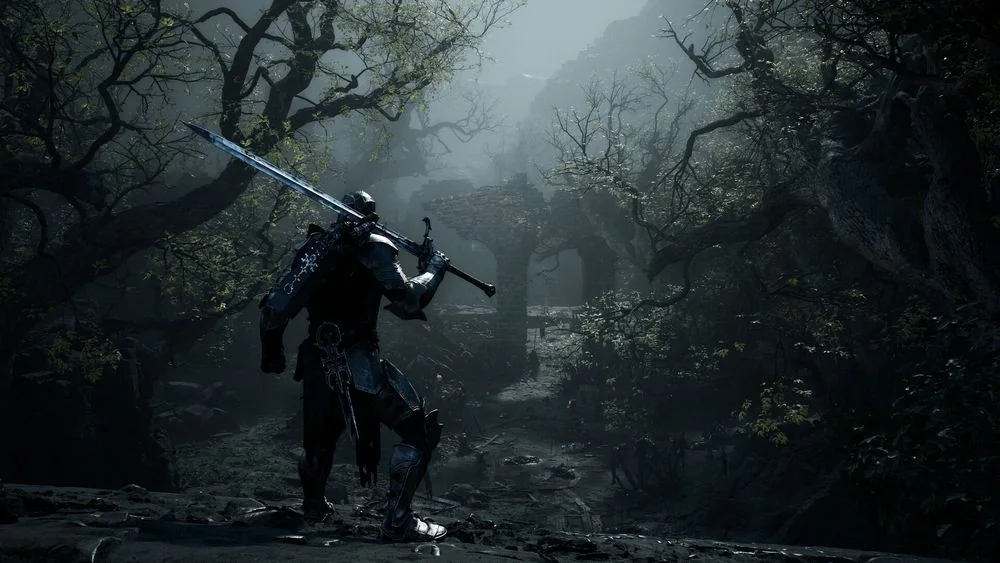
Shape your combat identity
Builds & Classes
Builds in Mortal Shell II begin with a Shell, weapon, Tarstones, and the resources available at that point in the run. Use these pages to compare reproducible setups rather than unexplained labels.
Use this archive
Choose a complete setup with a clear purpose, cost, and combat loop.
Start here
Featured Builds & Classes
Open the page that matches what you are trying to do now.
01Builds
A Mortal Shell II build starts with a Shell, then pairs it with a main weapon, sidearm, Tarstones, a Seal, and upgrades that solve the same combat problem. Pick one job for the setup before spending Gloom or Shell Points, because a collection of strong items is not automatically a coherent build. The best early setup is the one you can repeat at a Beacon, during a dungeon detour, and against a boss without changing every slot. Keep one familiar weapon equipped while testing each new layer of the setup against ordinary enemies.
Open guide ↗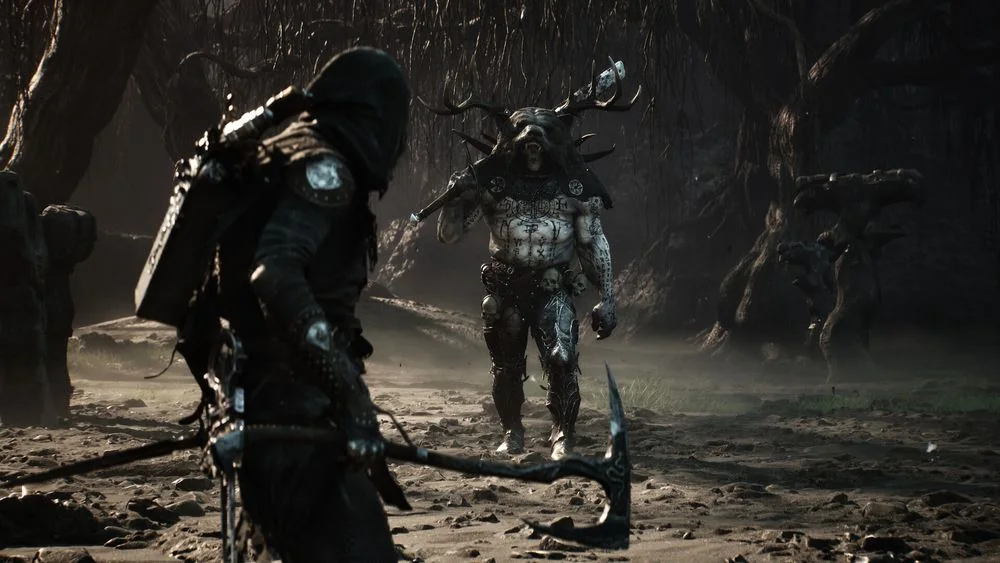 02
02Classes
Mortal Shell II has eight playable Shells instead of a permanent class-selection screen. A Shell changes the Harbinger's abilities and upgrades, while your weapon, sidearm, Tarstones, Seal, and Point allocation decide how that Shell plays in a particular build. Change Shells to match the route in front of you, then learn one reliable ability sequence before treating it as your new main body. Keep the same weapon during the first comparison so the Shell's abilities remain the only major variable.
Open guide ↗