
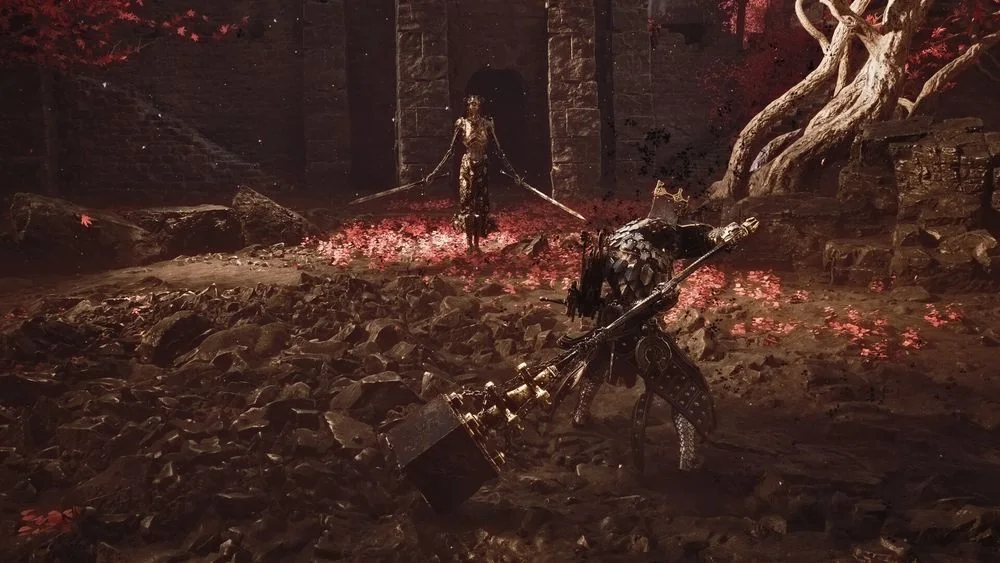

Unlock Genessa at Revenant Graves
Revenant Graves is the route that matters for Genessa. Defeat Sester Secundus there to receive Sester's Censer, then take the censer back to Sester Genessa at Marrow Keep. The Shell does not become available when the fight ends, so do not leave the hub hand-in unfinished.
Treat the nearest Beacon as the start of the attempt. It gives you a reliable reset while you learn the encounter and keeps the return trip short after a successful clear. Entering with a workable healing supply and a weapon whose recovery you understand is more useful than changing several pieces of gear at once.
The route is an unlock objective, not a demand to complete every nearby activity in one visit. Once Sester Secundus is down, secure the censer and return to Marrow Keep before spending resources on unrelated detours. That makes it easier to confirm that the unlock has registered before you start building around Genessa.
Understand Duality and Stray
Genessa uses Duality when her health is depleted. Rather than following the usual Shell recovery outcome, she changes into Stray. Plan for that change before a difficult fight, because a build that is safe at full health may play very differently after the transformation.
Do not treat Stray as an emergency animation with no tactical consequence. It is part of Genessa's combat identity and affects the decision to trade damage for position, healing, or Resolve. Practice the transition in a lower-risk area so it is familiar before you rely on it during a boss attempt.
Duality rewards deliberate risk rather than careless damage. Leave room for recovery after an aggressive sequence, and use your weapon, Seal, and sidearm to create a clear opening before taking another commitment. If the form arrives when you have no space to reset, the problem is usually the fight plan rather than the Shell alone.
Choose one ability direction
Genessa's available branches cover doubles, defensive effects, and resource management. Those are separate investments, so read the current ability tree and select the branch that supports the equipment already in use. A player who expects every upgrade to be active at once will spread Glimpse without building a clear combat loop.
Start by deciding what creates your safest opening. If you already rely on a quick weapon and a reactive Seal, a defensive or resource-focused choice can help the rest of the setup stay stable. If your plan is built around a specific damage sequence, test it first against ordinary enemies before committing further Glimpse.
The tree should answer a current problem, not an imagined endgame build. A difficult route may call for more reliable recovery, while a familiar boss can justify a more aggressive option. Return to the same encounter after each meaningful change so you can tell whether the new investment actually improves your results.
Use Genessa in longer encounters
Genessa works best when you know what will happen after a health collapse. Enter a boss room with a planned answer for the first dangerous sequence, the moment Duality becomes relevant, and the recovery window that follows. That is a more useful preparation step than looking for a universal Shell ranking.
Keep the rest of the loadout simple while learning her. One main weapon with familiar spacing, one sidearm for a situation melee cannot safely handle, and a Seal you can use on reaction make the transformation easier to read. Changing all three while learning Duality makes it hard to identify what is causing a failed attempt.
When a route begins to drain healing before the important encounter, return later rather than forcing the Shell to cover every mistake. Genessa gives you a distinct survival rule, but she does not remove the need to manage space and resources. A clean run to the fight leaves the build enough room to show what it can actually do.
Keep the first Genessa build readable
Use the same weapon and Seal for several attempts after unlocking Genessa. Stable equipment makes the effect of Duality easier to recognize. It also keeps a small mistake from turning into an unreadable build problem.
Watch what happens immediately before the health collapse. An unsafe attack string and a poor position create different problems. Change only the part of the plan that created the loss.
Use ordinary enemies to test a new branch before returning to a boss. They provide enough pressure to practice the Shell's rhythm. They do not force every experiment to consume a full healing stock.
The unlock route, Duality, and the ability tree are one decision chain. Finish the censer hand-in, choose one branch, and test it in a familiar route. That gives the Shell a clear starting role instead of a collection of untested effects.
Prepare before changing forms
Enter the important encounter with healing, Resolve, and a known weapon state. Duality is easier to use when the rest of the build is settled. A chaotic approach makes the transformation harder to judge.
Keep room to move after an attack. Genessa's change does not make surrounding enemies disappear. Position still decides whether a recovery window is available.
Use a sidearm when the boss does not allow safe melee contact. That preserves the main weapon for the opening it was chosen to exploit. It also avoids forcing a risky attack just to keep pressure active.
Review the result after the encounter instead of immediately changing several upgrades. The goal is to learn whether the failure came before or after Duality. That single distinction points to the next useful adjustment.
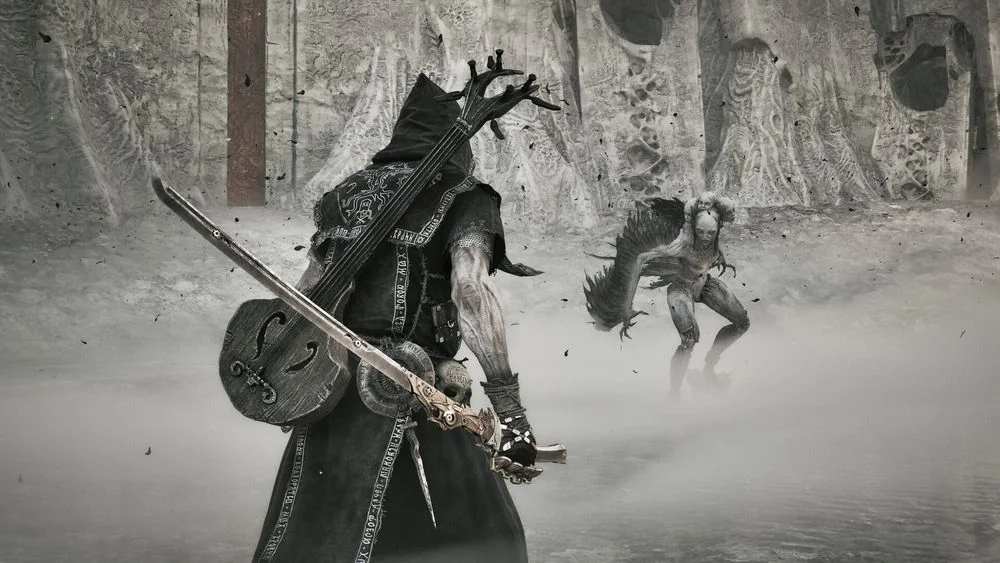
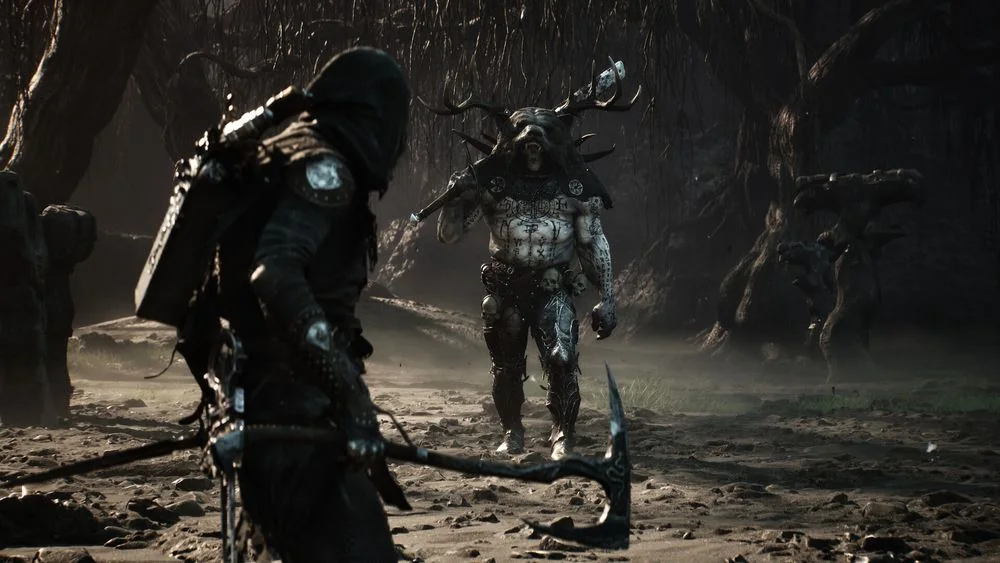
Related videos
Watch the route and combat use
The first guide starts muted in the lower-right corner on desktop. Choose another video to replace it; close the player at any time.