
Shells are the class system
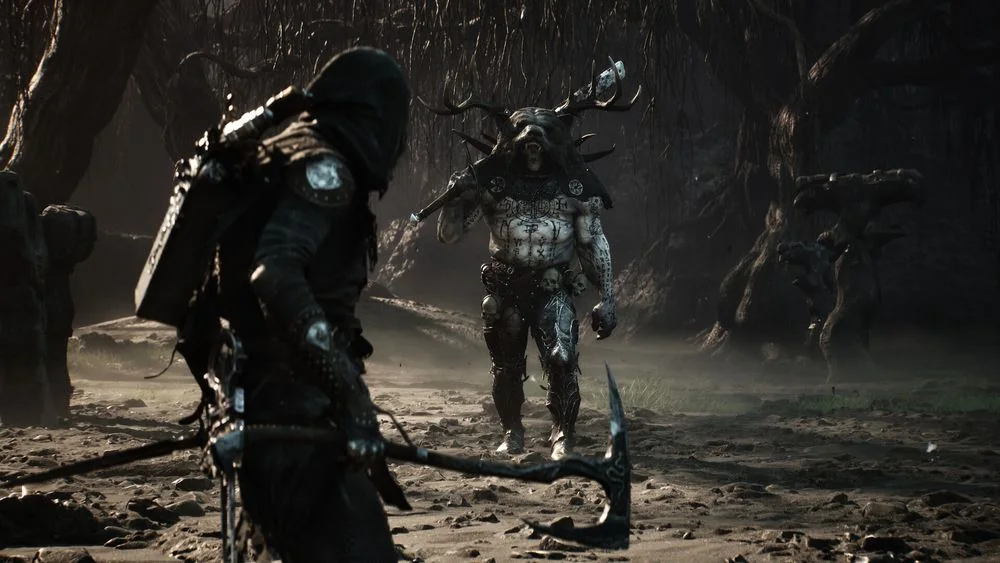
You do not choose a fixed class before the adventure begins. The Harbinger finds fallen warriors in the world and inhabits their Shells, each with its own identity and combat tools. That makes changing direction a matter of finding and bonding a Shell, not starting a new save.
A Shell changes more than its appearance. It has its own abilities and passive upgrades, so a player who prefers Ripostes, direct pressure, range, or unusual healing and Resolve management can choose a body that supports that habit. Weapons and sidearms remain separate choices, which keeps a Shell from becoming a single preset loadout.
There are eight Shells to discover. The useful first question is not which one has the highest reputation, but which one gives you a way to handle the attack pattern that is currently blocking progress. A Shell becomes much easier to judge once you use its active ability in a normal route rather than only reading its name.
Choose by the mechanics you will use
Eredrim rewards a player who can create Break damage and convert openings into Ripostes. His Slaughter stacks are tied to Ripostes, and his other tools support that pressure. He suits a player who is willing to learn enemy timing instead of relying only on dodge rolls.
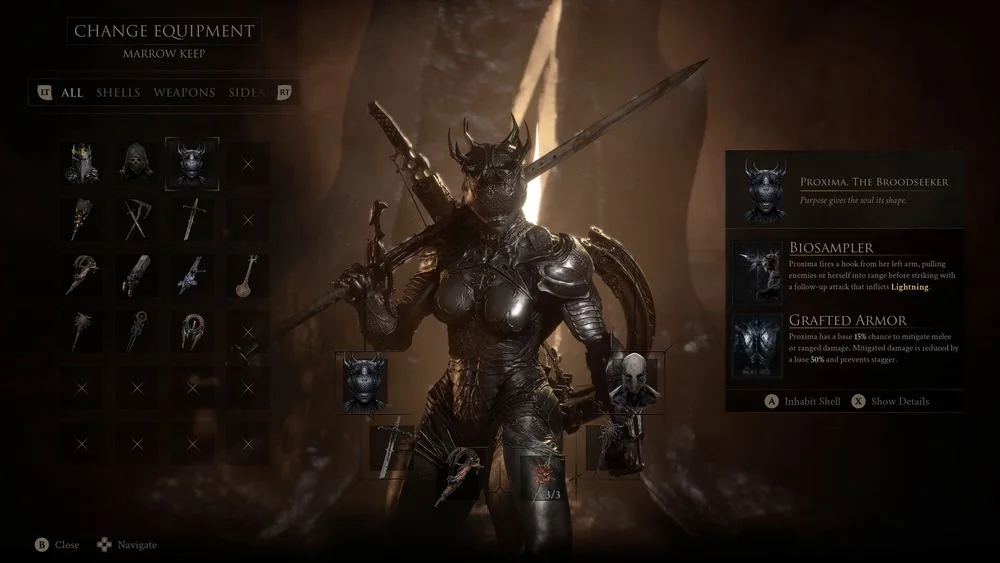
Proxima's Biosampler can apply Stasis and Shock while also changing how quickly she can start an aggressive sequence. That makes her a natural fit for a player who wants to push into a group, set up an effect, and follow with a weapon that works at close range. Her choice still depends on whether you can safely use that forward momentum in the encounter.
Smert trades a small health pool for Miracle, an ability that stops time and lets him fight unarmed while building Chaos on enemies. The ability can be extended by spending more health or ended to detonate the stacks. This is a distinct rhythm from an ordinary Shell, so test it before investing heavily in a weapon plan that assumes constant normal melee.
Understand the other Shell roles
Gragu gains healing through defeated enemies instead of beginning each Beacon rest with ordinary healing items. His Staggering Blow can be built for strong single-target damage or area damage. That makes him useful for a player who can keep a fight moving and recover healing through the route instead of expecting every rest to solve the same problem.
Lazlo uses Retribution to create an area shockwave, build Heat, and eventually trigger a stronger overheat release. His armor and damage reduction make the timing of that heat cycle central to his play. He asks you to decide when to hold the stronger state and when to spend it before the armor disappears for its cooldown.
Janessa can summon Faithful Doubles that attack with her weapon and apply Phantom. When severed from her Shell, she becomes a stray version who uses copies that mimic her attacks but cannot re-enter the Shell until resting at a Beacon. Sariel uses parasitic thorns and Curse, then manages Pain by recovering it through melee, so he asks for a more deliberate defensive rhythm than a direct burst Shell.
Build around the chosen Shell
The class choice only becomes useful when the rest of the loadout supports it. A Shell that wants repeated close openings needs a weapon whose recovery you can protect, while a Shell that controls groups benefits from a sidearm that can act from outside the danger. Do not assume a highly ranked weapon makes every Shell stronger in the same way.
Resolve links much of the kit together. Melee attacks build it, then Shell abilities and sidearms use it, so a build can fail if both tools demand the same Resolve at the same moment. Practice one repeatable sequence, such as setting an effect before a melee string or saving Resolve for a panic tool, before adding more abilities.
Tarstones can complete the plan without replacing it. Poison, Burn, Frost, Phantom, and utility effects change the value of a weapon depending on the Shell's opening pattern. Equip a stone because it improves a known action, not because an unrelated ranking placed it above another option.
Change classes without losing the route
Shell Points can be refunded and reallocated for free. Use that flexibility when a new Shell's ability branch fits your route better than the previous one. It also lets you correct an early investment without treating the character as permanently damaged.
Change one layer at a time when comparing Shells. Keep the same familiar weapon and sidearm for the first test, then change the Tarstones only after you understand the Shell ability. This makes it easier to tell whether a bad result came from the body, the loadout, or the encounter itself.
A good class choice is the one that gives you a clear response to the current area. Keep the Shell that makes you willing to practice the route, because reliable timing and healing use matter more than a label. Return to the other Shells later when you have a weapon or Tarstone that gives their mechanics a better home.

Related videos
Watch the route and combat use
The first guide starts muted in the lower-right corner on desktop. Choose another video to replace it; close the player at any time.