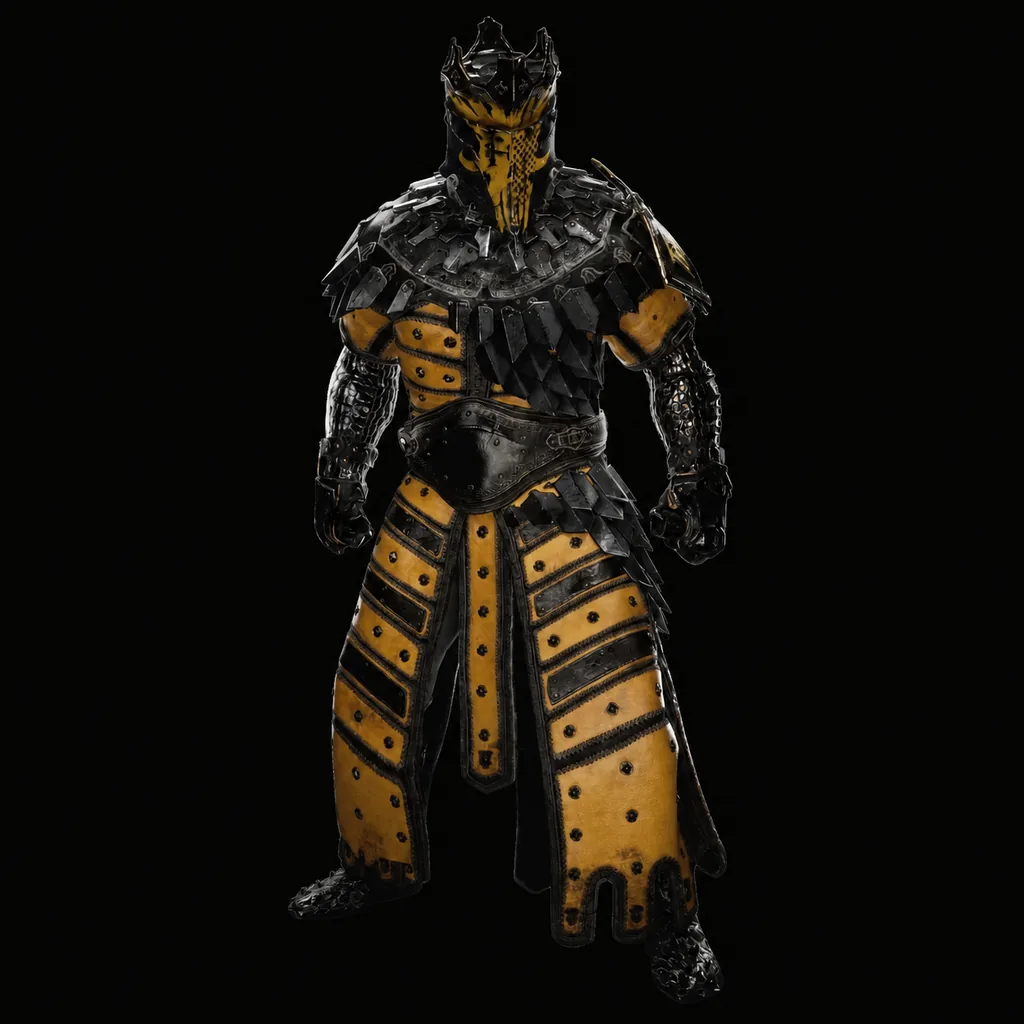
Shells
Eredrim
The Venerable · Playable Shell
Eredrim is a deliberate frontline Shell built around Ripostes, executions, Break damage, and a Slaughterer stack engine that rewards staying alive between rests.
On this pageOverview
Field profile
Overview
| Health | 110 |
|---|---|
| Resolve | 100 |
| Bleed resistance | 10 |
| Frost resistance | 7 |
| Shock resistance | 7 |
| Curse resistance | 6 |
- Players who enjoy parries and executions
- Methodical melee builds
- Long dungeon runs where stack retention matters
Strengths
Tradeoffs
- A failed defensive read slows the entire loop
- Resting or being severed can remove Slaughterer stacks
- His heaviest value arrives after skill investment rather than immediately
Recruitment site
Citadel of Penance
Recruit Eredrim at the Shell recruitment site in the Citadel of Penance.
Core kit
Core abilities
Executioner
Eredrim executes enemies on low health and gains Slaughterer stacks by performing a Riposte . Stacks are lost upon resting or being severed.
Shoulder Bash
Eredrim lunges with his shoulder, slamming into enemies and dealing Break Damage .
- Resolve cost
- 60
How to play
Eredrim combat guide
Control the pace with Guard, Parry, and Shoulder Bash, then convert broken or weakened enemies into executions. Eredrim becomes safer and stronger as Slaughterer stacks accumulate, so avoid unnecessary rests and protect the stack total during exploration.
Combat loop
- 01Open with a safe defensive read or Shoulder Bash.
- 02Use Break pressure to create a Riposte or execution window.
- 03Bank Slaughterer stacks and spend Resolve only when the ability will secure control.
- 04Against Frosted targets, capitalize on Apathy's damage bonus before the status expires.
Ability priorities
- 01Massacre
- 02Anguish
- 03Apathy
- 04Persistence
- 05Tank
Bond path
Progression plan
Start with Massacre and Anguish so Ripostes build Slaughterer faster and Shoulder Bash creates reliable openings.
Add Apathy when using Frost, then take Oppression or Radiance when more Break pressure is needed against elites.
Finish Persistence and Tank for stack retention and scaling damage reduction; Consecration keeps Resolve available during extended fights.
Build craft
Weapon and Tarstone synergies
Weapons & sidearms
Tarstones
Field notes
- Do not rest automatically if a large Slaughterer stack is carrying the run.
- Shoulder Bash is a control tool first; use it to force a favorable exchange rather than as a raw damage button.
- Bosses that deny executions reduce the value of the stack engine, so lean harder on Break and Frost.
Interactive progression
Skill tree
Open a Bond Tier branch to inspect its skills, Shell Point costs, and every upgrade level. Tier lines show unlock order; skills inside the same tier remain independent purchases.
Bond Tier 13 skills · unlock this tier before purchasing its nodes 01Alacrity4 levels · 1 / 2 / 3 / 4 Shell Points
Bond Tier 1Level costs: 1 / 2 / 3 / 4Open full skill entry ↗- Level 1Shoulder Bash charges 30% faster
- Level 270% Shoulder Bash Resolve cost
- Level 375% Ethereal Diapason Resolve cost
- Level 4After killing an enemy with a Riposte, Eredrim's abilities cost No Resolve for 8 sec.
02Apathy3 levels · 1 / 2 / 3 Shell Points
Bond Tier 1Level costs: 1 / 2 / 3Open full skill entry ↗- Level 1Eredrim has 50% Frost mitigation
- Level 2Eredrim has Frost immunity
- Level 3Eredrim deals 200% damage to Frozen enemies
03Massacre3 levels · 1 / 2 / 3 Shell Points
Bond Tier 1Level costs: 1 / 2 / 3Open full skill entry ↗- Level 1A Riposte grants 2 Slaughterer stacks
- Level 2A Riposte grants 3 Slaughterer stacks
- Level 3Killing an enemy with a Riposte grants 10 Slaughterer stacks.
Bond Tier 23 skills · unlock this tier before purchasing its nodes 01Anguish3 levels · 1 / 2 / 3 Shell Points
Bond Tier 2Level costs: 1 / 2 / 3Open full skill entry ↗- Level 1Shoulder Bash deals 150% damage
- Level 2Shoulder Bash inflicts 10 Weak stacks
- Level 3Shoulder Bash deals massive Stagger Damage
02Consecration3 levels · 1 / 2 / 3 Shell Points
Bond Tier 2Level costs: 1 / 2 / 3Open full skill entry ↗- Level 1Eredrim restores 15 Resolve
- Level 2Eredrim restores 20 Resolve
- Level 3Eredrim has 40% chance to fully restore Resolve
03Tank3 levels · 1 / 2 / 3 Shell Points
Bond Tier 2Level costs: 1 / 2 / 3Open full skill entry ↗- Level 10.15% damage reduction per stack
- Level 20.18% damage reduction per stack
- Level 30.2% damage reduction per stack
Bond Tier 33 skills · unlock this tier before purchasing its nodes 01Carnage3 levels · 1 / 2 / 3 Shell Points
Bond Tier 3Level costs: 1 / 2 / 3Open full skill entry ↗- Level 1Executed enemies rupture in a violent burst, spraying blood that deals 50 splash damage
- Level 2Executed enemies rupture in a violent burst, spraying blood that deals 70 splash damage
- Level 3Executed enemies rupture in a violent burst, spraying blood that deals 100 splash damage
02Radiance4 levels · 1 / 2 / 3 / 4 Shell Points
Bond Tier 3Level costs: 1 / 2 / 3 / 4Open full skill entry ↗- Level 1Ethereal Diapason deals 30 damage, 50 Break Damage to all enemies in range
- Level 2Ethereal Diapason deals 50 damage, 60 Break Damage to all enemies in range
- Level 3Ethereal Diapason inflicts 10 Fragile stacks to all enemies in range
- Level 4Ethereal Diapason has 200% the range
03Resonance3 levels · 1 / 2 / 3 Shell Points
Bond Tier 3Level costs: 1 / 2 / 3Open full skill entry ↗- Level 1Suffer from 5 Stasis stacks that last for 6s
- Level 2Suffer from 10 Stasis stacks that last for 8s
- Level 3Suffer from 18 Stasis stacks that last for 10s
Bond Tier 43 skills · unlock this tier before purchasing its nodes 01Oppression3 levels · 1 / 2 / 3 Shell Points
Bond Tier 4Level costs: 1 / 2 / 3Open full skill entry ↗- Level 1Shoulder Bash deals 110% Break Damage
- Level 2Shoulder Bash deals 120% Break Damage
- Level 3Shoulder Bash releases a frontal shockwave that inflicts 10 Trauma stacks but costs 20 more Resolve
02Persistence4 levels · 1 / 2 / 3 / 4 Shell Points
Bond Tier 4Level costs: 1 / 2 / 3 / 4Open full skill entry ↗- Level 1Only 50% of Slaughterer stacks are removed upon resting
- Level 2Only 50% of Slaughterer stacks are removed upon being severed
- Level 3Only 25% of Slaughterer stacks are removed upon resting
- Level 4Only 25% of Slaughterer stacks are removed upon being severed
03Seal Affinity4 levels · 1 / 2 / 3 / 4 Shell Points
Bond Tier 4Level costs: 1 / 2 / 3 / 4Open full skill entry ↗- Level 1Parry window is slightly longer
- Level 2A Riposte deals +20% damage
- Level 3A Riposte deals +35% damage
- Level 4Parry window is moderately longer
Video guide
Build video
Mortal Shell 2 Eredrim Build Guide - How to Play Eredrim
Abilities, skill priorities, weapons, Tarstones, and final play tips
- Channel
- Fextralife ↗
- Published
- 2026-08-18
- Length
- 13m 31s
Memories
| Peace At Last | Cost 500 · Reward 500 |
|---|---|
| Peace At Last 2 | Cost 500 · Reward 750 |
| Peace At Last 3 | Cost 500 · Reward 1000 |
| The Battle | Cost 500 · Reward 500 |
| The Battle 2 | Cost 500 · Reward 750 |
| The Choice | Cost 500 · Reward 500 |
| The Immaculate Path | Cost 500 · Reward 500 |
| The Immaculate Path 2 | Cost 500 · Reward 750 |
| The Squire | Cost 500 · Reward 750 |
Exact location
Fallgrim · 38.7836, 30.7162
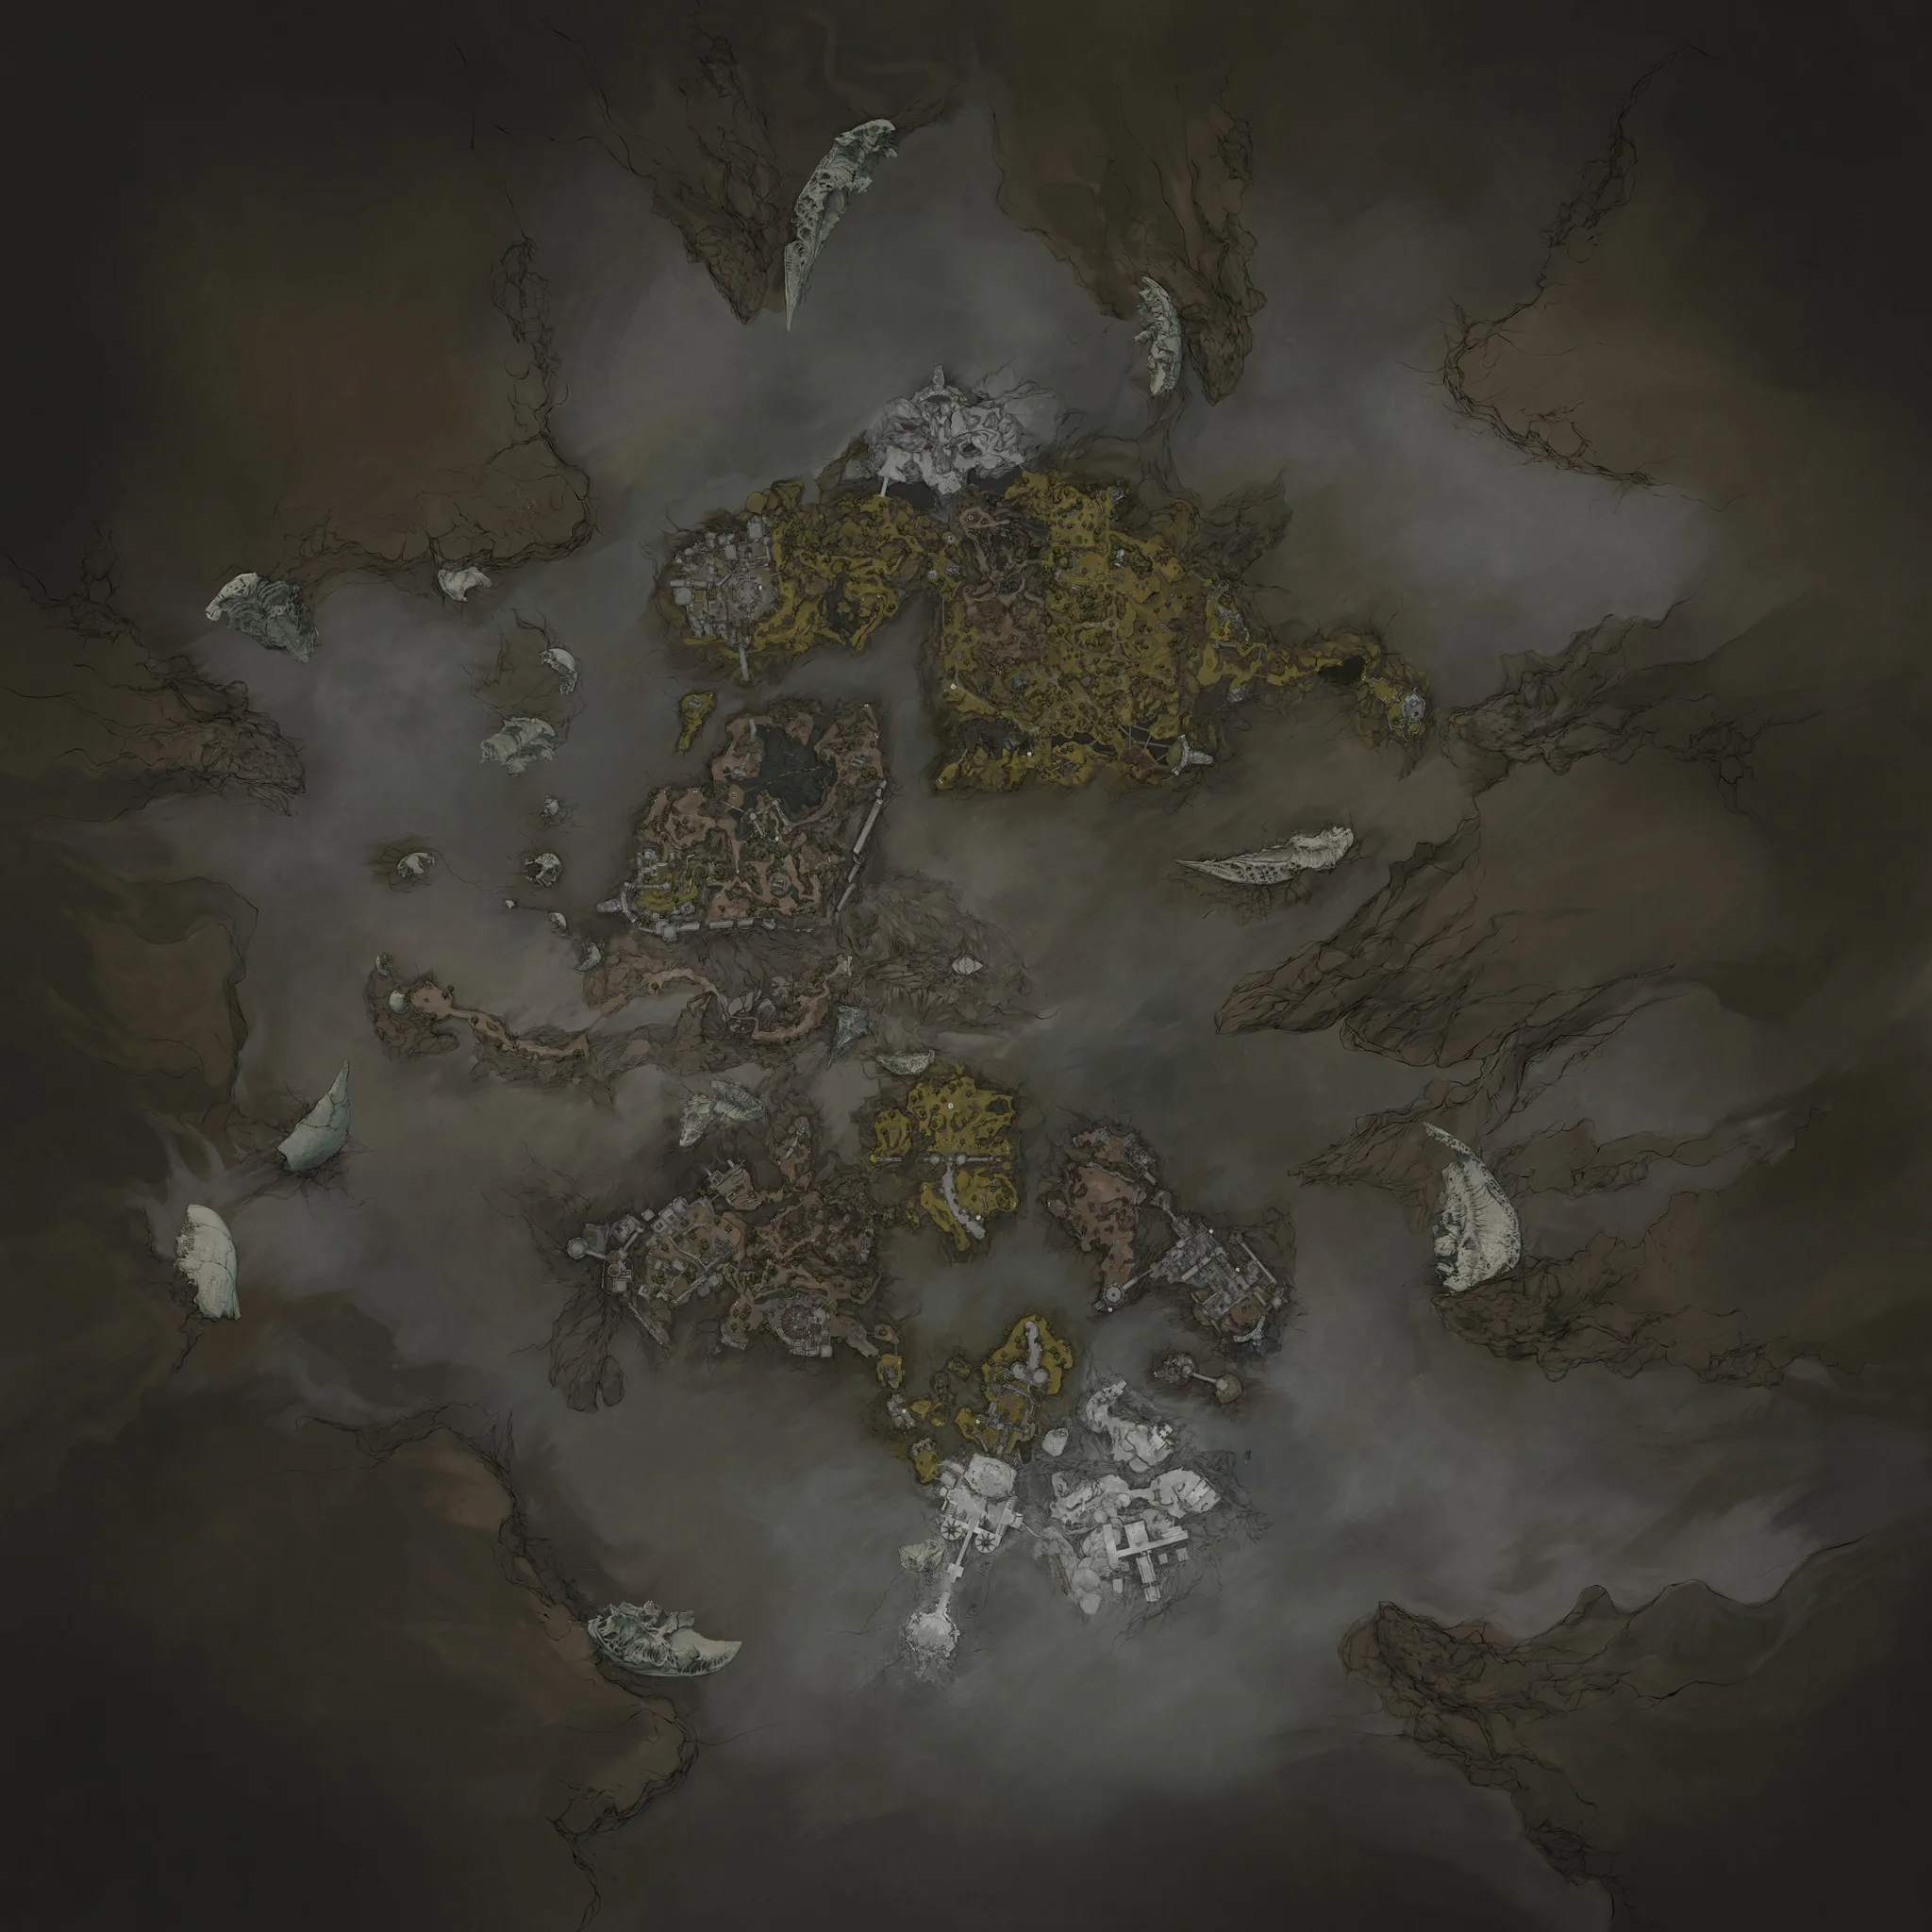 Eredrim
Map marker for Eredrim
Appearance variants
Shades
Shades change how Eredrim looks, not the Shell's stats or abilities. Switch between unlocked Shades from the Change Shades menu at any Beacon.
- 01King In YellowNamed alternate appearanceCosmetic only
- 02Obsidian EredrimObsidian appearanceCosmetic only
Gallery