
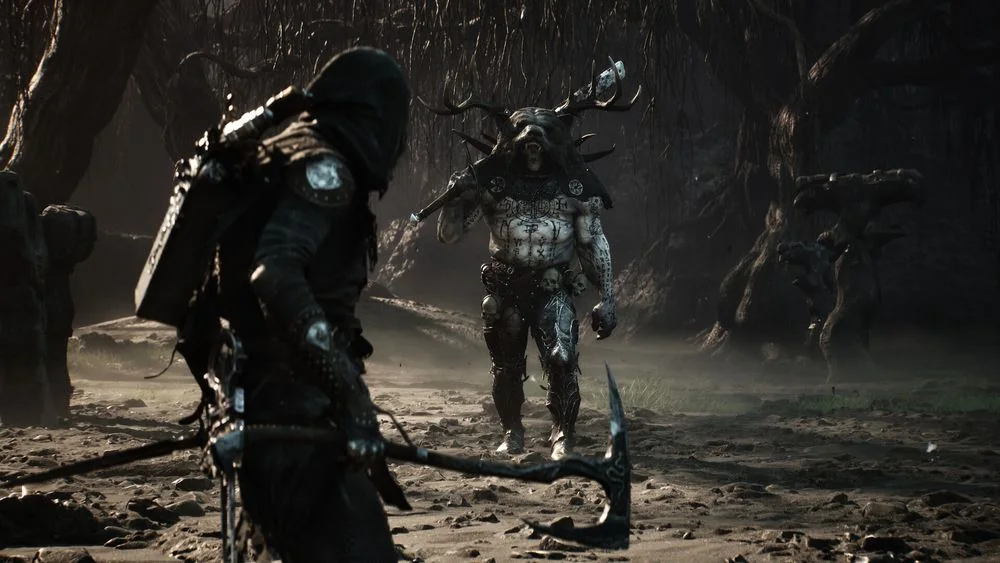
Mandatory bosses and route progress
The mandatory list contains Droeg the Conquerer, Gloombound Ritualist, Magdalena the Lady of the Woods, Vrannic the Grand Illusionist, Tar Golem, The Wandering Shepherd, Isaac the Scholar-Prince, Hexapod, Nameless Captive, The Lost Child, Lucian the Thirsting Knight, Vrago Solikar Champion, Tarblighted Stoner, Infested Miner, and Gloombound Wraith. This is a route list, not a promise that every fight has the same tempo or the same weakness. Prepare each loadout around the arena and attack pattern you are about to face.
Many encounters sit at the end of a Beacon-cleansed dungeon or a distinct side route. The boss name tells you less than the path that leads to it, because dungeon enemy density and a depleted heal stock can make a familiar boss feel much harder. Reset at the closest Beacon when you want to practice the arena rather than drag a nearly empty run into it.
Boss rewards can also feed weapon builds. Hexapod gives the Hexapod Core used with Axatana, Lucian is tied to the Serpent Stone used with Axe and Dagger, and Urrig is tied to the Warden's Stone for Great Martyr's Blade. Treat a difficult encounter as an opportunity to decide which later weapon you are actually preparing.
Optional bosses worth a detour
The optional list includes Great Arbiter of Flesh, Tainted Vestige, Circle of the Grasping Root, Prophet of Profane Infinities, Bloodcursed Lithopod, The Warden, Sester Secundus, and Vellen High Lord of Mammon. These fights are spread through exploration routes rather than the straightest story path. Their placement makes loadout choice and Beacon planning especially important.
The Warden is reached from Citadel of Penance Beacon. From the courtyard, drop into the pit, explore the circular lower level, operate the lever-controlled lift, and continue forward to start the fight. The reward route is important because defeating the Warden is part of acquiring Eredrim.
Other optional fights can still improve a build. Great Arbiter of Flesh is tied to Arbiter's Prize for Clockwork Scythe and Parasitic Stone for Iconoclast, while certain Grisha encounters can provide Grisha Remnant. If you do not need the reward, there is no reason to force an optional boss before your current weapon and healing are ready.
Read attacks before choosing a response
Some bosses reward parry and Break damage. The Flooded Village Grisha can be knocked down by building Break damage, and its bladed-arm swipes are useful timing practice. Its roaring upward spinning thrust is unblockable, so recognize that cue and move instead of reaching for a guard.
Some arenas ask for patience. The Warden has a cramped battlefield and many unblockable blows, including a rapid four-spin axe sequence. The immediate attack window comes after the fourth strike, so short punish strings are safer than trying to trade through the entire chain.
A boss may also have a move that changes your usual plan. The Lost Child has mouth streams, an unblockable arm swipe, and an unblockable inhale. A ranged sidearm can keep damage going while you wait for a safe melee turn, but you still need to move away from the inhale rather than trying to out-damage it.
Prepare a boss loadout
Bring the weapon whose recovery you can control. Battle Axe can build Break damage against a Grisha, while a fast weapon can punish an opponent after a long sequence ends. Do not assume the highest general tier wins every arena, because the length of the boss opening determines how much of a string you can safely finish.
Status effects can add damage while you are waiting for the next window. Burn or Poison are specifically useful options for The Warden, and Grisha Remnant can interrupt attacks if you have it. Those tools should support clean dodges and positioning, not replace them.
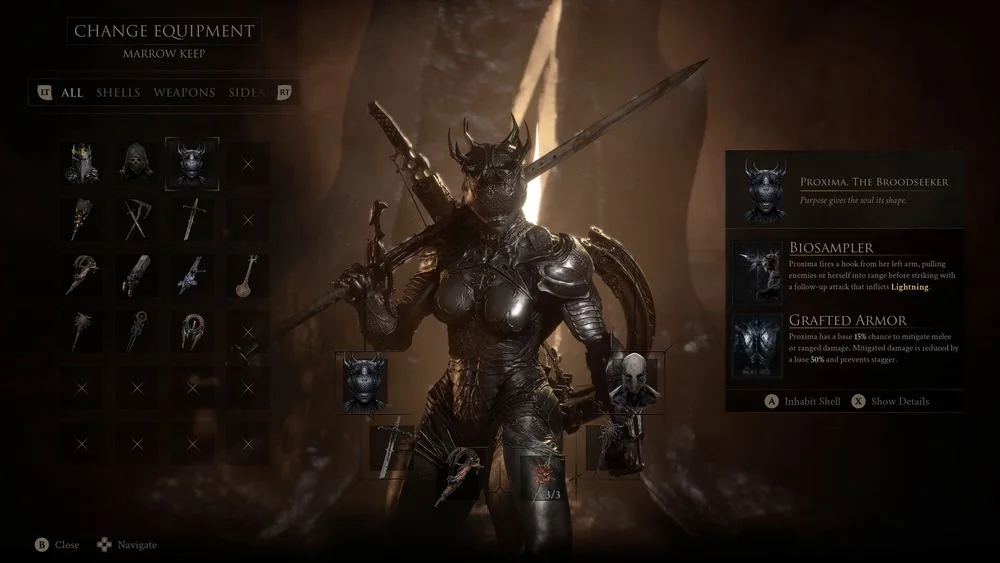
Use a sidearm when distance is the safest place to be. Forgotten Crossbow with Burn and Barrage was used against Lost Child from above, while Caged Hystrix provides rapid chip damage in many fights. Save enough Resolve for the parts of your Shell and weapon plan that actually create a reliable opening.
The boss list also helps explain why build rewards are scattered through the world. Hexapod Core belongs to the Hexapod fight, Serpent Stone comes from Lucian, and Warden's Stone comes from Urrig. A reward is useful when it serves the weapon you are already learning, not simply because it was acquired from a difficult encounter.
Some fights can be approached with a specific target priority. Broodshell Swarm contains two Leechtongues and a Bell Snail, so the fast lunging Leechtongues should be handled before the slower snail. Against the Wandering Shepherd, the sheep can be parried but the main target is the Shepherd himself, and his later phase can transform you into a sheep.
When a boss repeatedly punishes the same action, change the action rather than adding more attempts. Move from a slow melee commitment to a quick punish, add a sidearm during unsafe spacing, or change a Tarstone to a status effect that works while you are dodging. This produces a plan you can repeat instead of a one-attempt burst of damage.
Bosses are also a useful check on your basic combat habits. If a Grisha's unblockable thrust catches you because you keep trying to parry it, the answer is to recognize the roar and move. If a crowded arena catches you after a long heavy string, shorten the string. Every named encounter asks for a response that can be repeated after a reset.
Related videos
Watch the route and combat use
The first guide starts muted in the lower-right corner on desktop. Choose another video to replace it; close the player at any time.