
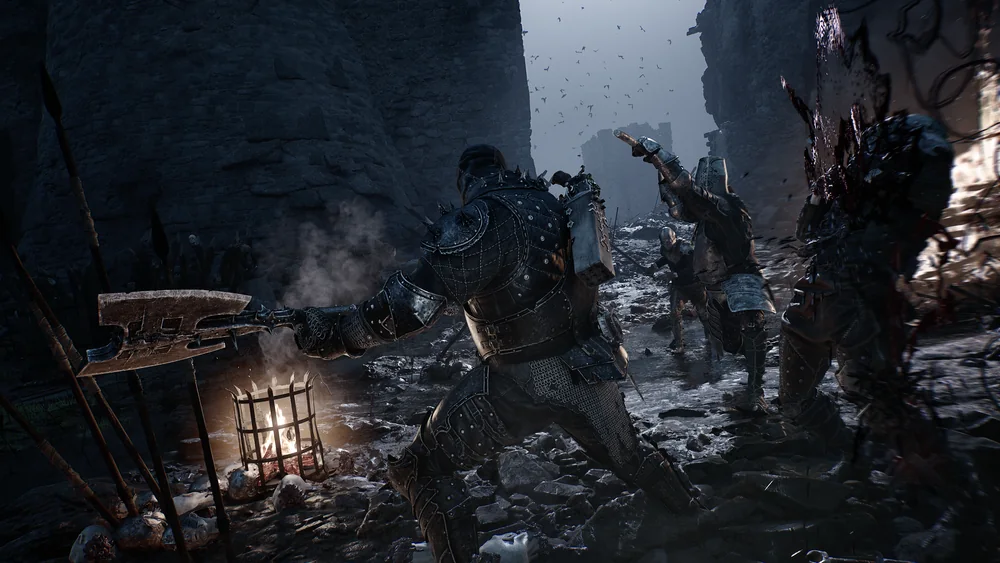
Reach the Warden arena
Start from Citadel of Penance Beacon and move into the courtyard. Drop down into the pit to reach the lower dungeon level. The lower area is circular, so explore it until you find the lift operated by a lever, then ride up and walk forward to trigger the fight.
The location matters because the fight is on a route connected to Eredrim. Defeating The Warden is part of acquiring Eredrim, so this is an early optional challenge with a meaningful Shell reward. You can reach it early, but that does not mean you need to beat it with an underdeveloped weapon and an empty healing stock.
Set the Beacon before entering the lower route. The arena punishes rushed attempts, and having a close reset lets you spend early attempts learning the spins instead of trying to preserve a long dungeon run. Bring the weapon whose dodge and recovery timing you already know.
Survive the four-spin axe sequence
The Warden fights with a flaming axe in a tight arena. Most of its blows are unblockable, which makes standing in place for a guard or a slow heavy chain dangerous. Treat spacing as the first layer of defense and avoid committing until the sequence has actually ended.
The most dangerous listed sequence is four rapid spins, each followed by an axe slam. Stay mobile through all four rotations. The punish window comes after the fourth blow, so take a short clean string instead of trying to attack between rotations.
A cramped arena makes panic dodging risky because you can run out of room or roll back into the next swing. Move with the Warden's rotation and keep the camera oriented toward its weapon side. If you cannot identify the next spin, spend the attempt watching the cadence rather than forcing damage.
Use damage tools during safe windows
Burn or Poison Tarstones are useful here because they keep dealing damage while you wait for the next safe opening. The Warden's flaming axe does not make its own attacks safe to trade against, so apply the effect during a confirmed punish and then return to movement. Do not turn a status setup into a reason to overextend.
Grisha Remnant can interrupt the Warden's attacks when equipped. It is obtained from Grisha bosses and can create a cleaner chance to attack. This is most useful when the boss is about to start a sequence you do not want to dodge through at close range.
Lost Clotstone lets Veteran's Battle Axe be thrown, which can create distance while still applying pressure. A thrown axe is not a replacement for learning the four-spin rhythm, but it is a useful option when the end of a sequence leaves you too far away for a full melee punish. Preserve enough Resolve to use it during a safe opening.
Choose a safer loadout
A fast weapon is often easier to fit into this fight because the Warden gives short, dangerous openings. Axe and Dagger or Black Needle lets you take a few hits and leave. Axatana's katana form can also work, provided you do not transform in the middle of an expected axe response.
Veteran's Battle Axe is viable if you use its heavier attacks only after a confirmed opening. It can also pair with Burn and Lost Clotstone. Avoid treating the weapon's damage as permission to stay in the Warden's range after the fourth spin window has closed.
Pick a sidearm that can keep a small amount of pressure from a safer distance. Forgotten Crossbow is the straightforward choice, while Caged Hystrix offers repeated chip damage. Save healing for the moments you cannot cleanly recover through positioning, because a slow heal in the tight arena can be punished by the next unblockable chain.
A successful Warden attempt usually looks controlled rather than aggressive. Let the axe sequence finish, move through the open arena space without backing into the next rotation, and attack after the fourth slam. The arena's size means a short punish that leaves room to dodge is more valuable than a longer string that traps you beside the boss.
Eredrim is the progression reason to take this detour, but the fight does not require you to use a particular Shell. Bring the Shell whose defensive option you can trigger under pressure and the weapon whose recovery you can cancel in time. If you are entering early, practice the pattern first and treat the reward as a later unlock rather than an obligation to win immediately.
Burn, Poison, Grisha Remnant, and a thrown Battle Axe are all support tools. Their job is to add pressure during a safe moment or interrupt a bad sequence, not to let you ignore the boss's unblockable axe strings. When the support tool is unavailable, return to the same basic loop: create space, survive the spins, and attack after the sequence.
If repeated attempts fail before you can reach the fourth-spin punish, leave and improve the route conditions. Restock healing, change to a faster weapon, or return after gaining another upgrade. The boss remains optional until you are ready to claim Eredrim, and a controlled later attempt is more productive than forcing a depleted early run. The route will still be there when your loadout is ready.

Related videos
Watch the route and combat use
The first guide starts muted in the lower-right corner on desktop. Choose another video to replace it; close the player at any time.