
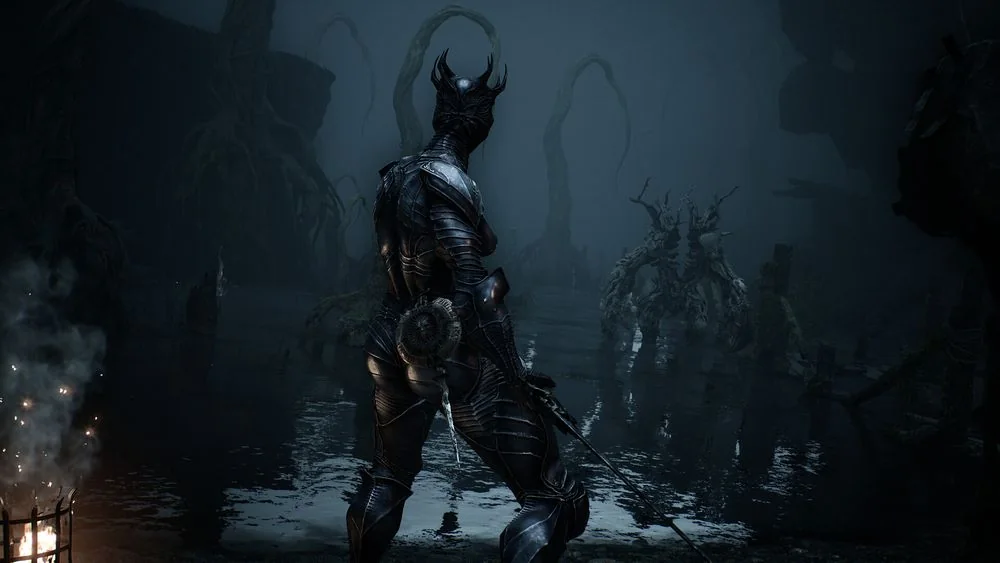
What changes the difficulty
The standard game asks you to learn enemy timing, protect your recovery windows, and decide when an opening is safe enough to spend. A difficult encounter is not always a signal that you need more damage. It can mean the current Shell, weapon, or route is asking for a combat rhythm that does not fit you yet.
Difficulty also changes from one area to another because the game combines groups, tracking attacks, posture pressure, ledges, and status effects. A weapon that works in a quiet duel can become awkward when several enemies close the space at once. Treat the room and enemy mix as part of the problem before changing your whole build.
Shells, sidearms, Tarstones, Seals, and Resolve give you several ways to change a fight without changing a global setting. A tougher Shell can give you room to learn a pattern, while range or crowd control can make a route safer before you commit to close attacks. The useful choice is the one that solves the encounter in front of you, not the one that sounds strongest in the abstract.
Use the Slayer Seal with its cost in mind
The Slayer Seal is the game's forgiving option once the Prologue is over and you have entered Marrow Keep. With it equipped, the sidearm deals Break damage, Ripostes restore Health and Resolve, and Slayer Punch provides a charged attack. Those changes make it easier to stabilize after mistakes and create more opportunities to recover control of a fight.
Its trade-off matters if you are pursuing achievements. Equipping the Seal disables achievements on that save, and that status cannot be turned back on afterward. Decide before using it whether that character is a practice run or a completion run, rather than discovering the cost after a long stretch of progress.
The Seal is most useful when the ordinary loop is stopping you from seeing a route at all. Use it to learn enemy spacing, understand a boss phase, or get through a section that is draining every healing resource before its pattern is clear. It is less useful as a substitute for a plan, because a new weapon, a different Shell, or a return after opening another Beacon can still be the cleaner answer.
Night Mode is a separate choice
Night Mode begins through Thestus at Marrow Keep when you use the Gloombound Flame. It makes enemies stronger, increases their health and damage, darkens the overworld, and opens a new vendor and additional dungeons. This makes Night Mode a content and combat change, not merely a visual filter.
Do not activate it because you expect the same risk as the Slayer Seal. The two systems move in opposite directions: the Seal makes the combat loop more forgiving, while Night Mode raises the pressure. They also differ in permanence, so they should be planned separately instead of treated as a single difficulty menu.
You can return to the standard state by speaking to Thestus and choosing Seek Daylight. That lets you test Night Mode without turning a normal route into a permanent commitment. If a boss or dungeon is already consuming your supplies, finish the ordinary version first and save the night pass for when you want the added challenge and its extra destinations.
Make a hard route manageable
Start by identifying what actually ends the attempt. If a group surrounds you, bring broad swings, a sidearm, or a tool that changes crowd behavior; if one heavy attack catches you during recovery, use a faster weapon or wait for a shorter opening. A repeated death becomes useful once it tells you which part of the encounter needs to change.
Beacon progress gives you permission to leave a route that is no longer productive. Open a safer reset point, return with healing, and make a separate weapon or Tarstone detour before trying the same gate again. Forcing a blind push after your resources are gone usually teaches less than a clean second attempt.
Keep achievement goals and learning goals separate. A player who wants a no-compromise completion save can use another character to test the Slayer Seal, Night Mode, or an unfamiliar Shell. That preserves the permanent achievement choice while still giving you a place to learn the parts of the game that are currently too punishing.
Set a practical learning order
Learn the ordinary enemy version of a problem before changing several systems around it. Spend one attempt watching the opening attack, another testing the response you think is safe, and a third deciding whether your damage window is actually long enough. This gives you a repeatable answer instead of a lucky clear that cannot be used in the next area.
Build changes are easier to judge when you make one at a time. Swap the main weapon if recovery is the issue, choose a sidearm if range is the issue, or change the Shell if you need a different ability and health profile. Keep the rest of the setup familiar until you know whether the new tool solved the stated problem.
The game gives you more than one valid way through pressure, but it does not ask you to prove that every route is possible with every build. Use the safer option when you want to preserve a run, then revisit a difficult encounter for practice when the cost of failure is lower. That approach keeps the challenge visible while making progress less dependent on repeating the same failed attempt.
Related videos
Watch the route and combat use
The first guide starts muted in the lower-right corner on desktop. Choose another video to replace it; close the player at any time.