
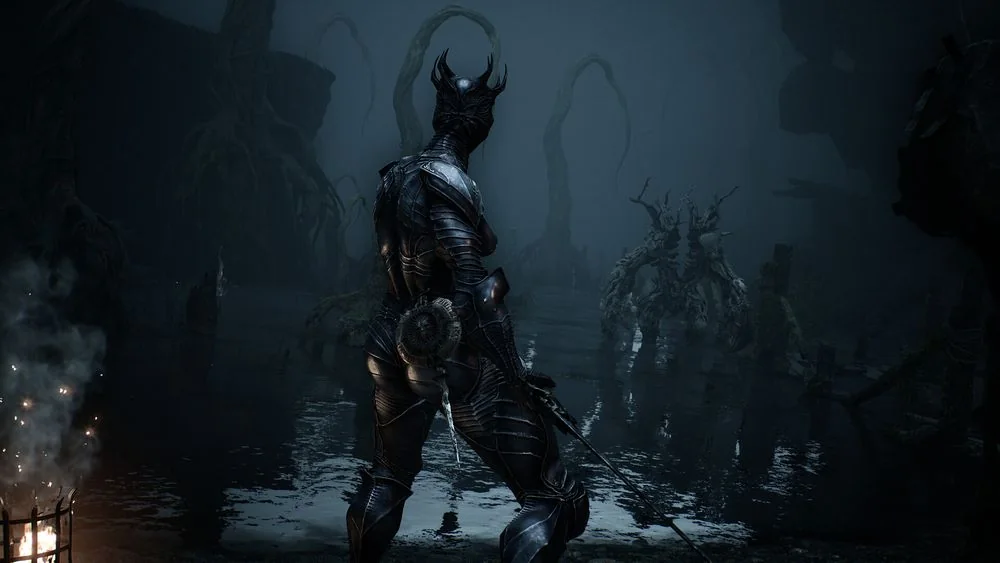
Mortal Shell 2 Tips
Marrow Keep is the place to reset your plan between routes. Zhirelle handles Shell bonding and can reveal Shell locations for Glimpse, Franz improves main weapons after you bring him a Maraudian Actuator, and Merrick's stock covers rare items and weapon-location maps. Treat those services as one preparation loop: find a target, check the route, then spend only on the tools that solve the next obstacle.
Choose a Shell for the defensive option and upgrade path you can use under pressure. Shell memories and Shell Points are bought with Glimpse, so spreading Glimpse across every new Shell leaves each one short of its useful thresholds. Put early Glimpse into the Shell you are actually taking into difficult routes, then use the refund option only when a new weapon or ability changes the build you want to play.
Keep one dependable main weapon while you test new pickups. The opening Iconoclast gives a balanced reference point, while later weapons change reach, speed, recovery, and the value of a given Tarstone. A new weapon, unfamiliar stone, and hard boss all at once make it difficult to see what needs fixing.
Fight for Resolve, then spend it with purpose
Mortal Shell II does not use a stamina bar, so the limit on an attack string is the enemy's response and your weapon recovery. Melee damage refills Resolve, which powers Shell abilities and sidearms. Start a safe exchange with the attacks you can confirm, then spend Resolve when it creates distance, control, or a reliable follow-up.
The equipped Seal controls the defensive tool separately from the Shell. Read the block, parry, or Harden behavior before trying to absorb a heavy attack, and watch the enemy warning cues rather than reacting to the damage itself. A parry can be valuable, but an unblockable attack still needs movement and spacing.
Sidearms solve problems that a main weapon cannot solve cleanly. Caged Hystrix supplies repeated ranged pressure, Forgotten Crossbow gives a straightforward distant answer, and Troubadour's Lute can disrupt a group. Reserve Resolve for the moment the sidearm changes the fight instead of firing it whenever it is available.
Use Beacons to make exploration deliberate
Revitalize and cleanse Beacons as you explore. They anchor returns, award Ova at the end of their combat challenge, and unlock progress through nearby Corrupted Gates. A Beacon also gives a practical boundary for an expedition: leave with a clear target and return when healing or route knowledge runs out.
Before entering a side area, identify the gate state and the last landmark before the pickup, boss, Shell, or dungeon you want. An open region can still contain a blocked branch, and a route that looks short can become expensive after a dungeon drains healing. Marking the last Beacon first prevents a failed attempt from becoming an uncontrolled recovery run.
Do not treat every marker as a first-visit obligation. Fainweald contains enough weapons, sidearms, Shell routes, and side encounters to support several returns. Leaving a difficult path for a later Beacon cycle is normal progression, especially when another Shell, sidearm, or Tarstone gives the route a clearer answer.
Turn pickups into builds
Tarstones alter how a weapon behaves, not just its damage number. Burn, Poison, Frost, Phantom, and utility effects can make a weapon fit a boss or a crowded route that it struggled with before. Judge a weapon after you have tried the stones available to your current route, rather than deciding from its base moveset alone.
Some route rewards naturally pair with a weapon. Duality Stone works with Axatana and the light attacks of Axe and Dagger, Hexapod Core supports Axatana, and Serpent Stone supports a poison-focused Axe and Dagger setup. When a target weapon and its useful stone belong to the same area, collecting both makes the detour worth more than a base pickup.
Consumables also have active and passive uses. Collecting them improves them, the active slot uses the regular-item input, and the passive slot gives its benefit without another button press. Check both functions before selling or ignoring a new item, because the passive effect may fit the build better than the active one.
Recover when a route stops working
A hard route is often a signal to change one part of the plan. Switch to a faster weapon when recovery is getting punished, bring a sidearm when the target will not allow safe melee, or return after opening another Beacon. A clean change is more useful than repeating the same attempt with fewer healing items.
Lost Gloom does not have to end a boss attempt. Retrieve it from range with a shot, then return to the menu after recovery to resume at the latest checkpoint with the Gloom in inventory. Use that option to recover resources, not as a substitute for learning the encounter.
Settings can also remove small points of friction. Auto gold pickup keeps routine collection from interrupting travel, while changing ranged auto aim can make target choice more predictable when you are already locked on. Make those choices at the hub, then use the next route to learn the results.
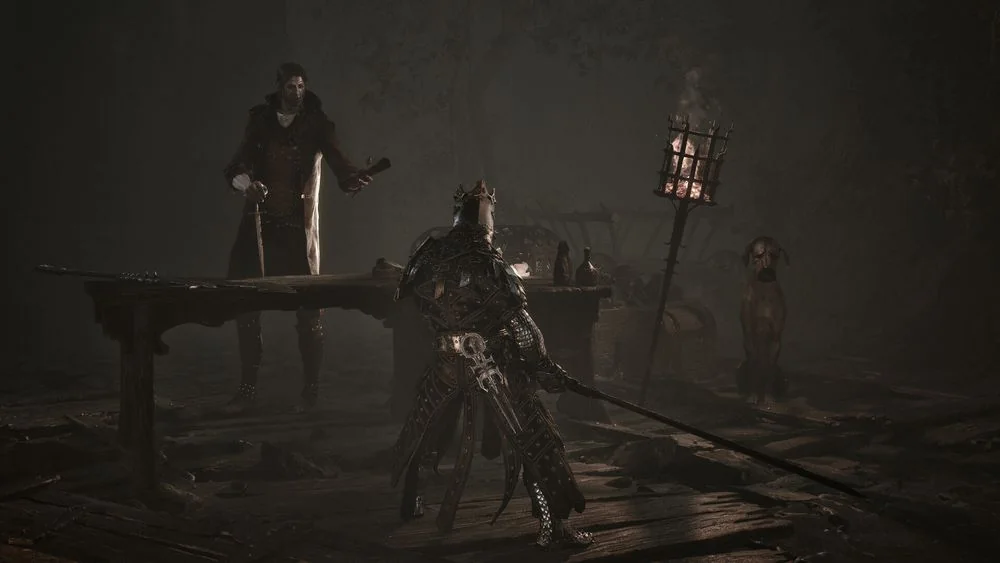
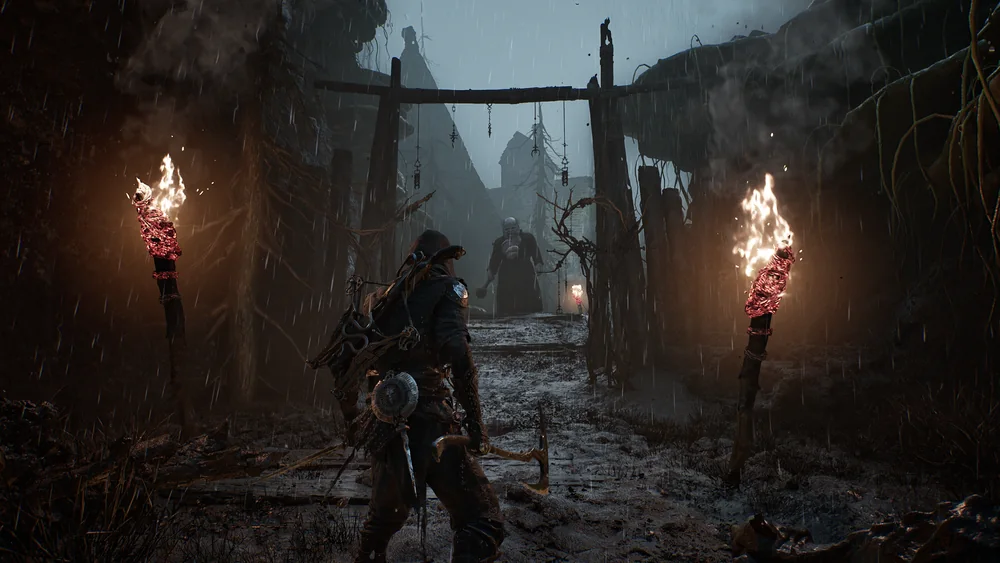
Related videos
Watch the route and combat use
The first guide starts muted in the lower-right corner on desktop. Choose another video to replace it; close the player at any time.