
Shells
Proxima
The Broodseeker · Playable Shell
Proxima is an aggressive Lightning Shell who uses Biosampler to pull targets or herself into range, then survives the commitment through conditional Grafted Armor mitigation.
On this pageOverview
Field profile
Overview
| Health | 100 |
|---|---|
| Resolve | 100 |
| Bleed resistance | 8 |
| Frost resistance | 5 |
| Shock resistance | 7 |
| Curse resistance | 8 |
- Aggressive melee players
- Lightning and Shock builds
- Players who like gap-closing tools
Strengths
- Flexible engage tool that can pull enemies or move Proxima
- Strong Lightning scaling and Shock payoff
- Conditional mitigation prevents stagger during aggressive commitments
Tradeoffs
- A missed or mistimed hook can place Proxima in danger
- Biosampler competes with sidearms for Resolve
- Mitigation is chance-based until specific skill conditions are met
Recruitment site
Blackridge Cliffs
Recruit Proxima at the Shell recruitment site in Blackridge Cliffs.
Core kit
Core abilities
Grafted Armor
Proxima has a base 15% chance to mitigate melee or ranged damage. Mitigated damage is reduced by a base 50% and prevents stagger.
Biosampler
Proxima fires a hook from her left arm, pulling enemies or herself into range before striking with a follow-up attack that inflicts Lightning .
- Resolve cost
- 50
- Cooldown
- 7s
How to play
Proxima combat guide
Use Biosampler as both an engage and a position correction. The cleanest build keeps enough Resolve for the hook, stacks Lightning through weapon attacks, and uses mitigation windows to stay on top of a staggered or shocked target.
Combat loop
- 01Build Resolve and Lightning with safe weapon pressure.
- 02Use Biosampler when the pull or movement will create a confirmed follow-up.
- 03Stay close through the mitigation window and trigger Shock before the target recovers.
- 04Harvest samples during exploration, then protect the permanent Biohunter gain rather than taking needless trades.
Ability priorities
- 01Attunement
- 02Biohazard
- 03Ampereon
- 04Collector
- 05Biohunter
Bond path
Progression plan
Attunement and Biohazard make Biosampler affordable and threatening; Ampereon establishes the Lightning plan.
Collector and Biohunter turn samples into permanent progression, while Discharge adds control after a successful hook.
Fortress and Exoshell strengthen mitigation windows; Energize and Reflection add high-value defensive conversions.
Build craft
Weapon and Tarstone synergies
Weapons & sidearms
Tarstones
Field notes
- Keep a Resolve reserve for Biosampler instead of firing the sidearm whenever it is available.
- A hook is safest after a whiff, stagger, or ranged wind-up.
- Biohunter has explicit caps: 15% at level 1, 20% at level 2, and 30% at level 3.
Interactive progression
Skill tree
Open a Bond Tier branch to inspect its skills, Shell Point costs, and every upgrade level. Tier lines show unlock order; skills inside the same tier remain independent purchases.
Bond Tier 13 skills · unlock this tier before purchasing its nodes 01Ampereon3 levels · 1 / 2 / 3 Shell Points
Bond Tier 1Level costs: 1 / 2 / 3Open full skill entry ↗- Level 1Proxima has +50% Lightning mitigation
- Level 2Proxima has Lightning immunity
- Level 3Shock damage and radius are doubled
02Attunement3 levels · 1 / 2 / 3 Shell Points
Bond Tier 1Level costs: 1 / 2 / 3Open full skill entry ↗- Level 1Biosampler costs 20% less Resolve
- Level 2Biosampler costs 30% less Resolve
- Level 3Biosampler costs 50% less Resolve
03Exoshell4 levels · 1 / 2 / 3 / 4 Shell Points
Bond Tier 1Level costs: 1 / 2 / 3 / 4Open full skill entry ↗- Level 1Proxima has +100% mitigation chance while using Biosampler
- Level 2Proxima has +25% mitigation chance while aiming
- Level 3Proxima has brief +30% mitigation chance after dodging
- Level 4Proxima has +30% mitigation chance while sprinting
Bond Tier 23 skills · unlock this tier before purchasing its nodes 01Biohazard4 levels · 1 / 2 / 3 / 4 Shell Points
Bond Tier 2Level costs: 1 / 2 / 3 / 4Open full skill entry ↗- Level 1Biosampler deals 150% more damage
- Level 2Biosampler inflicts 3 additional Lightning stacks
- Level 3Biosampler deals 180% more damage
- Level 4Biosampler inflicts 5 additional Lightning stacks
02Biohunter3 levels · 1 / 2 / 3 Shell Points
Bond Tier 2Level costs: 1 / 2 / 3Open full skill entry ↗- Level 1Proxima has 0.5% permanent damage increase per sample, up to 15%
- Level 2Proxima has 0.8% permanent damage increase per sample, up to 20%
- Level 3Proxima has 1% permanent damage increase per sample, up to 30%
03Reflection3 levels · 1 / 2 / 3 Shell Points
Bond Tier 2Level costs: 1 / 2 / 3Open full skill entry ↗- Level 1Projectiles have 15% chance to cause no damage to Proxima
- Level 2Projectiles have 35% chance to cause no damage to Proxima
- Level 3Nullified projectiles have 100% chance to be reflected back to the attacker
Bond Tier 33 skills · unlock this tier before purchasing its nodes 01Collector3 levels · 1 / 2 / 3 Shell Points
Bond Tier 3Level costs: 1 / 2 / 3Open full skill entry ↗- Level 1Proxima has 20% chance to harvest a Specimen
- Level 2Proxima has 40% chance to harvest a Specimen
- Level 3Proxima has 35% chance to harvest +2 Specimens
02Seizure3 levels · 1 / 2 / 3 Shell Points
Bond Tier 3Level costs: 1 / 2 / 3Open full skill entry ↗- Level 1Biosampler inflicts 20 Stasis stacks
- Level 2Biosampler deals 50 splash damage and 100 Stagger Damage
- Level 3Biosampler deals 80 splash damage and 150 Stagger Damage
03Shellshock3 levels · 1 / 2 / 3 Shell Points
Bond Tier 3Level costs: 1 / 2 / 3Open full skill entry ↗- Level 1Proxima gains 10 Resolve
- Level 2Proxima gains 15 Resolve
- Level 3Proxima inflicts 10 Lightning stacks to the attacker
Bond Tier 43 skills · unlock this tier before purchasing its nodes 01Discharge3 levels · 1 / 2 / 3 Shell Points
Bond Tier 4Level costs: 1 / 2 / 3Open full skill entry ↗- Level 1Biosampler knocks back the struck enemy and triggers a Lightning storm that lasts for 6s
- Level 2Biosampler knocks back the struck enemy and triggers a Lightning storm that lasts for 9s
- Level 3Biosampler knocks back the struck enemy and triggers a Lightning storm that lasts for 10s
02Energize3 levels · 1 / 2 / 3 Shell Points
Bond Tier 4Level costs: 1 / 2 / 3Open full skill entry ↗- Level 1Grafted Armor always mitigates damage for 8s
- Level 2Proxima releases a shockwave that inflicts 15 Lightning stacks
- Level 3Proxima has 30% chance to fully restore Resolve
03Fortress4 levels · 1 / 2 / 3 / 4 Shell Points
Bond Tier 4Level costs: 1 / 2 / 3 / 4Open full skill entry ↗- Level 1Mitigated damage effectiveness increased by 110%
- Level 2Mitigated damage effectiveness increased by 115%
- Level 3Mitigated damage effectiveness increased by 122%
- Level 4Mitigated damage effectiveness increased by 133%
Video guide
Build video
Mortal Shell 2 Proxima Build Guide - How to Play Proxima
Lightning build, abilities, skill priorities, weapons, Tarstones, and final tips
- Channel
- Fextralife ↗
- Published
- 2026-08-18
- Length
- 11m 42s
Memories
| A Bad Deal | Cost 500 · Reward 500 |
|---|---|
| A Life For A Life | Cost 500 · Reward 500 |
| The Endeavor | Cost 500 · Reward 500 |
| The Exchange | Cost 500 · Reward 500 |
| The Weapon | Cost 500 · Reward 500 |
Exact location
Fallgrim · 51.9067, 28.4860
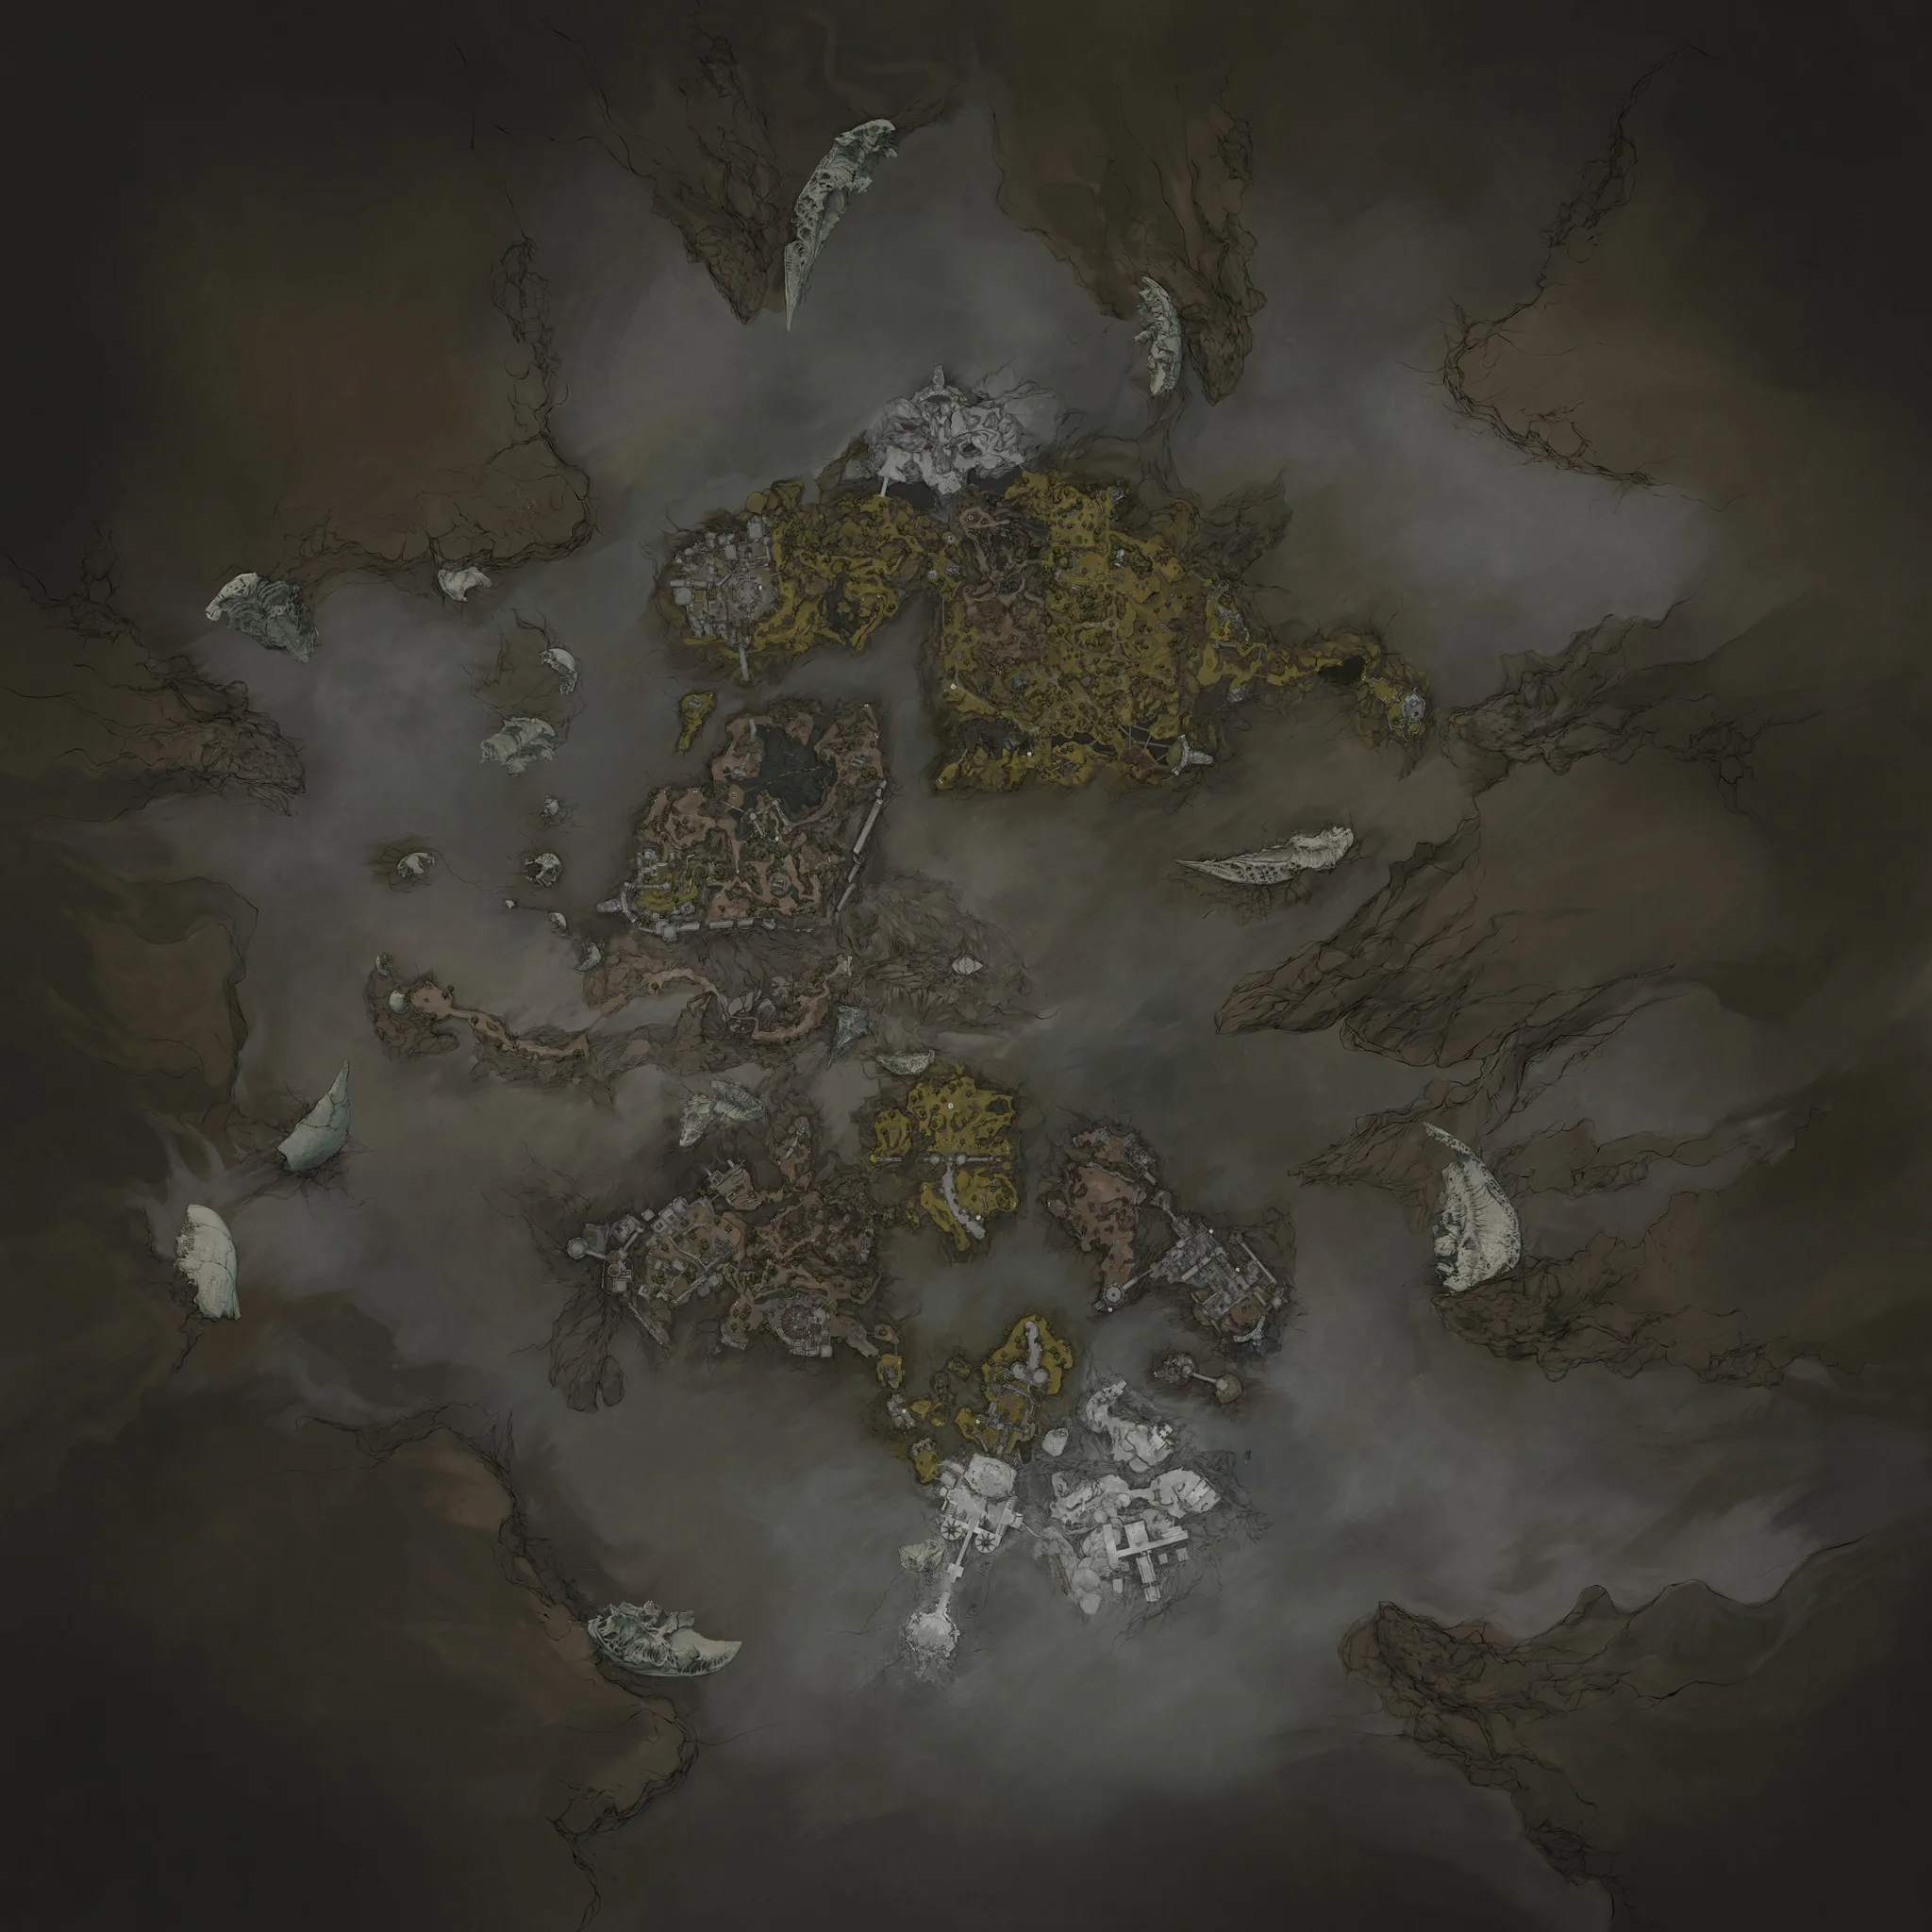 Proxima
Map marker for Proxima
Appearance variants
Shades
Shades change how Proxima looks, not the Shell's stats or abilities. Switch between unlocked Shades from the Change Shades menu at any Beacon.
- 01BonegraftedNamed alternate appearanceCosmetic only
- 02Obsidian ProximaObsidian appearanceCosmetic only
Gallery